🌈 ESP32-S3 Rainbow: ZX Spectrum Emulator Board! Get it on Crowd Supply →
View All Posts
read
Want to keep up to date with the latest posts and videos? Subscribe to the newsletter
HELP SUPPORT MY WORK: If you're feeling flush then please stop by Patreon Or you can make a one off donation via ko-fi

Ever since discovering these crazy wireless LEDs I’ve been messing around with wireless charging technology. So far I’ve been a bit disappointed with what I’ve been able to do, it’s been great for making LEDs light up, but my attempts to use it for anything serious have either resulted in me burning out the transmitters, or releasing the magic smoke from the circuit I’m trying to power.

LEDs

So I decided to bite the bullet and get a proper set of wireless charging PCBs. If you want to watch a full video of the experiments in this blog post then you can do so here - it’s definitely worth it!

Wireless Charging PCBs

The transmitter board I have can take 5v, 9v and 12v as input and in theory with the receiver board I have we should be able to get up to 1.5A at 5v out of it. To test this I’ve hooked the transmitter up to my USB power monitor and the receiver up to my electronic load. The USB power monitor is pretty cool, it will monitor the voltage, current and power, and it also lets me trigger the various USB Power Deliver and Quick Charge modes.

Testing the wireless charging PCBs

I’ve run through the three different voltage inputs with the electronic load set to different load currents and generated the following graph. What was quite interesting is that I struggled to get the 12v input to work consistently, it would often fail at quite low current loads.

Wireless charging PCBs graph

With the 5v input, we get maximum efficiency of 73% at a load of 0.4Amps. With the 9v input, we get just under 70% efficiency at 1.1 amps. With the 12v input, I couldn’t get it to work consistently above 0.7Amps and the efficiency was very low. I also noticed that the receiver board was getting quite warm when the transmitted was using 12v. The board was getting up to almost 80 degrees C, which is a bit too hot for my liking. When running at 5v or 9v it only got up to about 50 degrees C.

Temperature of Receiver Board

The efficiency I’m measuring is pretty close to the listing on AliExpress - which says we should be able to get 75% - so we are facing one of those rare occasions where the listing is actually accurate!

I also tried to measure the range of the transmitter and receiver. Running at 5v I got around 1cm of range, at 9v I got around 1.5cm - 2cm of range. I didn’t try and measure the 12v range as I didn’t really trust it.

5v Range of Wireless Charging PCBs

9v Range of Wireless Charging PCBs

I thought it might be fun to try and run a Raspberry Pi Zero W2 with the transmitter and receiver boards. To make it a real test I’m going to run Doom on the Pi with a nice TFT screen. To check if this was even feasible I ran the Pi with it connected to my USB monitor and it peaks at around 0.65Amps when running Doom. So it should work without any problems.

And after a bit of fiddling it works really well, we can run the Pi over wireless power.

Wireless Pi Doom Machine

One of the things I did find, is that it’s surprisingly hard to get good alignment of the coils when you can’t see the transmitter. This does explain why the iPhone has a bunch of magnets in it to help line it up with the transmitter. I’ve used one of my magnetic sheets to visualise the magnets in the phone and phone charger.

iPhone Magnets

There’s also this nice exploded view of the iPhone showing the magnets.

iPhone Exploded View

So, it’s pretty cool to power the Pi completely wirelessly, but it is ultimately a bit pointless. As soon as we move the Pi away from the transmitter coil it stops working. We really do need to actually have a battery that is charged by the receiver. I’ve got a whole bunch of battery charging boards based around the TP4056 chip.

TP4056 Battery Charging Boards

But I’ve also got a bunch of boards that use the TP4056 chip and have a built-in boost circuit. The potentially nice thing about having a boost circuit is that our battery can go very low and we’ll still be able to use it to power the Pi.

TP4056 And Boost Circuit

Unfortunately, the first board I tried boosted the battery voltage without any problems, but I could only adjust it to 5.66 volts. The Pi’s power management IC can only take up to 5.5 volts, so although we’re close, I’d like to give it 5v - I really don’t want to blow up my Pi as they are still quite hard to get hold of!

Looking at the boost converter’s IC datasheet, the voltage is controlled by this resistor divider.

Boost Converter Resistor Divider

The top resistor has the code 104 - which should be 100K ohms. But when I measured it in the circuit I only got 57K. The trim pot is also only going down to 9.9K - so there’s no way we can get the voltage we need.

Wrong Value

Fortunately, we can add some additional resistors to the board, so I’ve ended up soldering a 100K in parallel with the top resistor. With this in place, we can get 5v out of the boost converter.

With the battery hooked up, it charges up via the wireless transmitter. And eventually the battery gets up to full charge.

It’s now easy enough to hook it up to the Pi with a switch to turn it on and off.
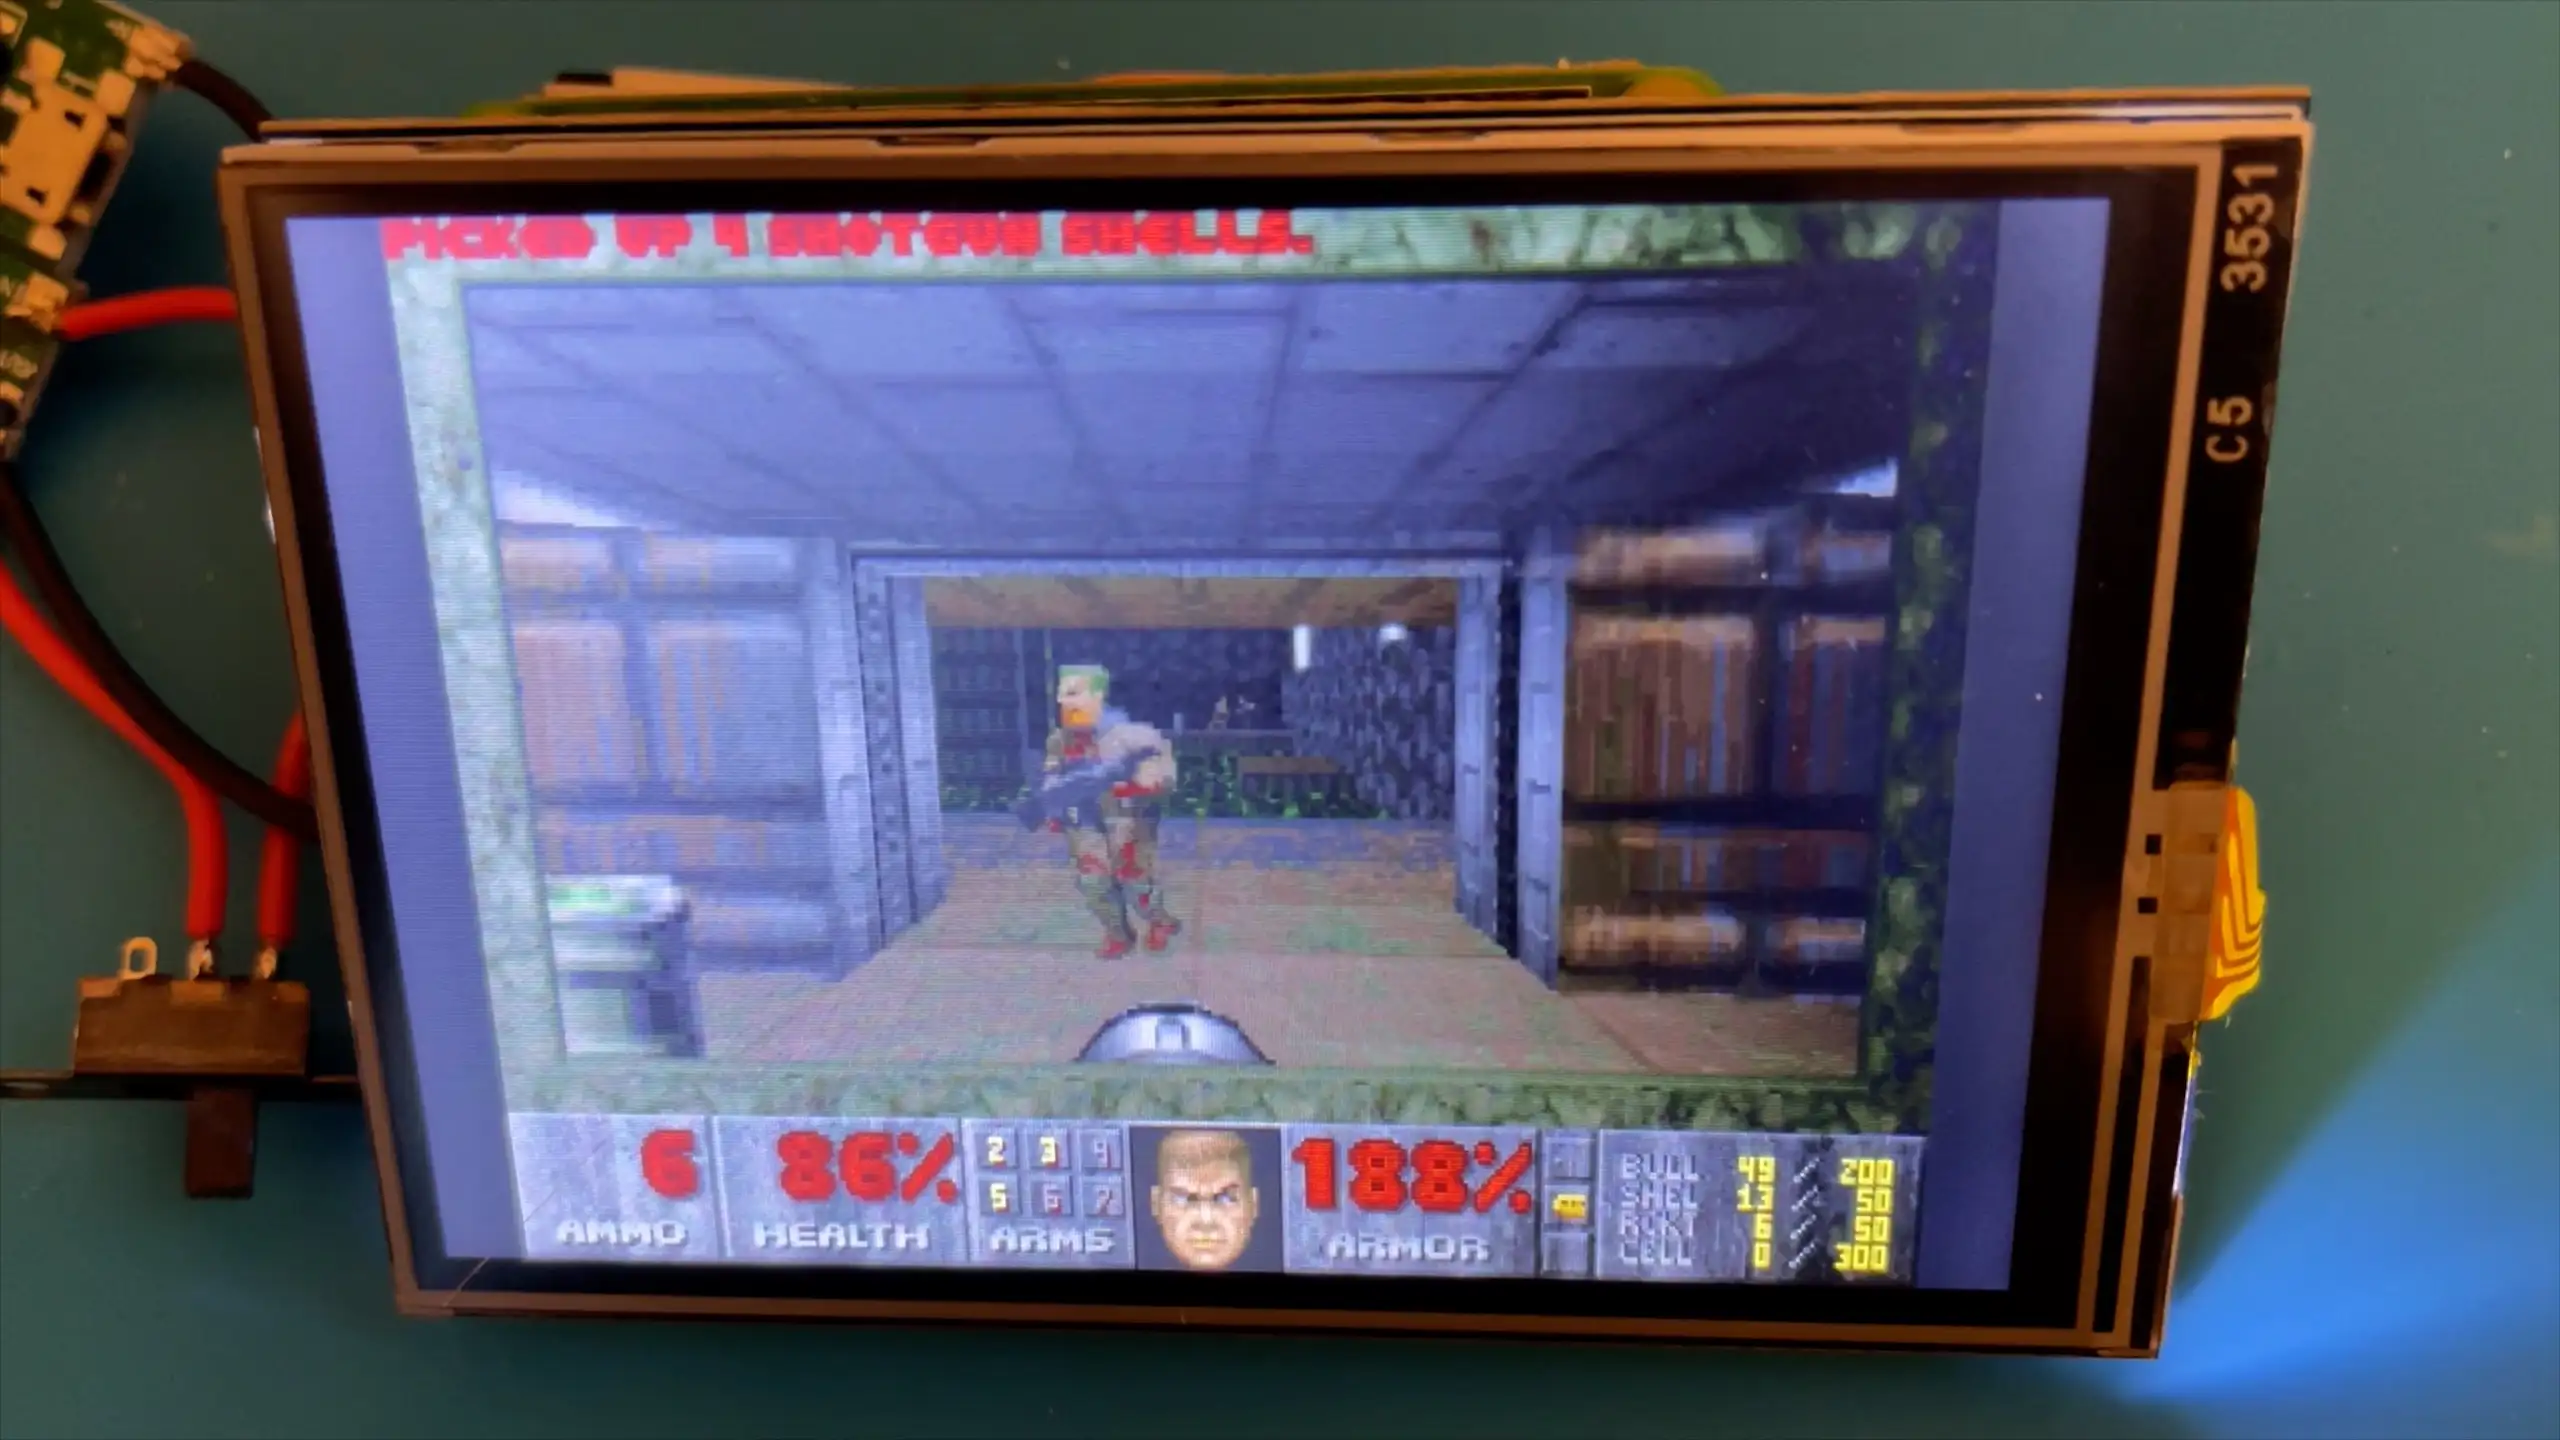
Wireless Pi Doom Machine

Of course, with it all working, I realised it would probably be much better to split the charging and boost board into two separate modules. We can then easily switch off the boost converter. If we then it will drain the battery over time. But that’s something for another day when we’ll add sound and a controller to make the ultimate wireless Pi Doom machine!

There’s a full video of this blog post available here - it’s worth a watch as there’s a lot more detail in it.

You can buy the Infrared camera I’m using here.

The nice USB power meter is this one: AliExpress, Amazon.

The wireless power transmitter is this one.

And the receiver is this one.

Related Posts

More Updates on the ZX Spectrum Board - I'm gearing up for production with some updates to our prototype, including switching to a 4-layer board to improve EMI, and refining USB power filtering. Check out the video for a deep dive into our battery charger and an exciting expansion port for potential HDMI output. The main goal now is to get our boards ready for manufacturing and shipping through Crowd Supply!
More fun and games with high voltage - Hey everyone! I know it's been a while since the last video, but things have been crazy busy with shipping off the ESP32 Rainbows. Lately, I've been diving into the world of high voltage again. My last endeavor with a high voltage board led to some gnarly waveforms and flickering LEDs, so I tested with beefy resistors but wasn't thrilled with the results. Fortunately, I've found some nixie tube driver boards that work wonders with LEDs, providing smooth output with little ripple. Still, playing with the old boards has its thrill—hello, 787 volts and some wild sparks! Stay tuned for more high voltage adventures!
Red Arcade Thing Repair - I resurrected a dead AliExpress arcade handheld by swapping the blown 3.3V regulator (I now own 99 spares), adding a TP4056 charger with Schottky diode isolation, and nursing a 0V LiPo back to life. A bit of hot-plate rework, tidier wiring, and—flip the switch—boom: it boots! It’s not pretty, but it’s alive again.
It blew itself up! - I recently got my hands on a cheap mini handheld game console from AliExpress that gave up the ghost a bit sooner than expected! After some detective work with a multimeter, I found a dead battery and a suspicious burn mark on the PCB. Looks like the culprit was a failed capacitor, with some diodes to blame too. I managed to jump-start the board, though it lost its voice in the process. Replacement parts are on the way; stay tuned for the next round of electronic surgery!
The PCBs are in production - what have I messed up? - After some stress and trepidation, I finally took the plunge and sent my PCB design off for manufacturing. My design centers around building a large seven-segment clock with LED filaments. Jumping hurdles such as voltages, pin usage, and limiting the load on my power supply, I've settled on the ESP32 as the system's heart and come up with a final circuit design. While doing this, I've quickly realized I could improve my layout and fixed a small mistake. Also, I've prepared for either types of LED filaments - the high-voltage ones or the larger, 3v ones. However, I did bungle up a couple of things on the enable line of the shift registers and board layout. But hey, this is a learning curve, right? Can't wait to get the boards and see what other exciting errors surface!

Related Videos

Wireless Powered Raspberry Pi - Dive into the magic of wireless charging technology with a Raspberry Pi Zero W2 and a TFT display! Discover how it manages to power up and run Doom without an obvious power source. Explore the efficiency, power input and output, temperature dynamics, and range of the transmitter. Furthermore, learn about the issues with locating magnets for alignment and possible solutions for ensuring a consistent power supply, including a complete wireless charging system with a battery.
ESP32 Touch Spectrum - Battery and Expansion port test. - It's time for a bit more testing of the boards from PCB Way, and I must say, these boards have come out amazingly well. Check out PCB Way – there's a link in the description! Today, we're focusing on testing the battery charging and the expansion port. The battery charging circuit seems successful, and even when playing music, everything is running efficiently. I've looked into some optimizations for the speaker side, such as adding more decoupling capacitors. We also tested the expansion port, successfully running an emulator on the Pico that drives the display via the expansion port. Excitingly, I wired up an HDMI breakout board and now we have a big screen! This is still experimental, but it's looking promising. Next steps include more focus on EMI and EMC as we prepare for production. Stay tuned for more updates!
Easy S3 PCB and Schematic - it’s really simple. - In this video, I explore the functions of my newly arrived little boards - essentially a PCB that an esp32 S3 room module can be connected to. I put the board's voltage regulator, battery charger, and a 3 watt class D amplifier to the test, and damn, they work perfectly! I even use breadboards, connecting them together to facilitate a wider workspace. I gave the pcbs a spin, conducting sanity checks to ensure full functionality. With a successful battery charge and impressive voltage measurements, my PCB's are up to the challenge. I also dabble in some circuit jargon, explaining schematics, amplifiers, battery chargers and a clever mosfet approach. To top it off, I solder on an ESP32 module and prove that yes, it actually works. Stay tuned for a following video where we'll work with a speaker and display!
Making this CR*P Night Light GOOD - I've been picking up cheap motion night lights—performance meh, battery life definitely not 'four charges a year'. So I cracked one open for a Big Clive-style reverse-engineer: TP4054 charger at ~300 mA into a tiny 350 mAh cell, an 8-pin mystery PIR/LED driver taking the PIR and LDR directly and sinking the LED cathodes. No visible current limiting on the board, but measured ~68 mA on the bench so it's baked into the chip. Then I gutted the brains, dropped in an RC-WL0516 radar sensor, added an LDR and a timing cap to stretch the ~3 s timeout, and drove the LEDs with a MOSFET and proper current limiting. Swapped in a bigger 820 mAh battery, reassembled so it still charges and looks stock—and now it actually works nicely. Also, bonus anti-subscribe jam. Good as new.
787 Volts From a $2 Board! - Let's have some fun with high voltage experiments and LED filaments! I've been dabbling with 300-400 volts, testing out capacitor charging, and saving some flickery Philips bulbs. With a new ESP32 Rainbow project in the works and a nifty minimalist ESP32 S3 board arriving soon, there's lots going on. Despite some high ripple issues and quirky sounds from the modules, swapping to an old-school surface mount board provides smooth performance with almost no ripple. Join me as I explore the limits and potential projects with these LEDs. And for a shocking tidbit at the end, explore some high voltage calculations—it's electrifying!
HELP SUPPORT MY WORK: If you're feeling flush then please stop by Patreon Or you can make a one off donation via ko-fi
Want to keep up to date with the latest posts and videos? Subscribe to the newsletter
Blog Logo

Chris Greening


Published

> Image

atomic14

A collection of slightly mad projects, instructive/educational videos, and generally interesting stuff. Building projects around the Arduino and ESP32 platforms - we'll be exploring AI, Computer Vision, Audio, 3D Printing - it may get a bit eclectic...

View All Posts