Every time I put text on a TFT display with TFT_eSPI I end up staring at the same built-in fonts: chunky, jagged, and very 1980s. Which is a shame, because the library has been able to draw beautiful anti-aliased “smooth fonts” for years. The rendering was never the problem, the tooling was. The official way to make a smooth font involves installing the Processing IDE, editing a Java sketch, and running it again for every font at every size. The result is that most projects never bother.
So I built something to fix that.
fonts.atomic14.com is a free browser tool that turns any of 1,900+ Google Fonts (or your own TTF file) into fonts ready to use with TFT_eSPI, M5Stack/M5GFX or LVGL, with a pixel-exact preview of how they’ll look on your panel. Everything runs in your browser; no font ever gets uploaded anywhere.
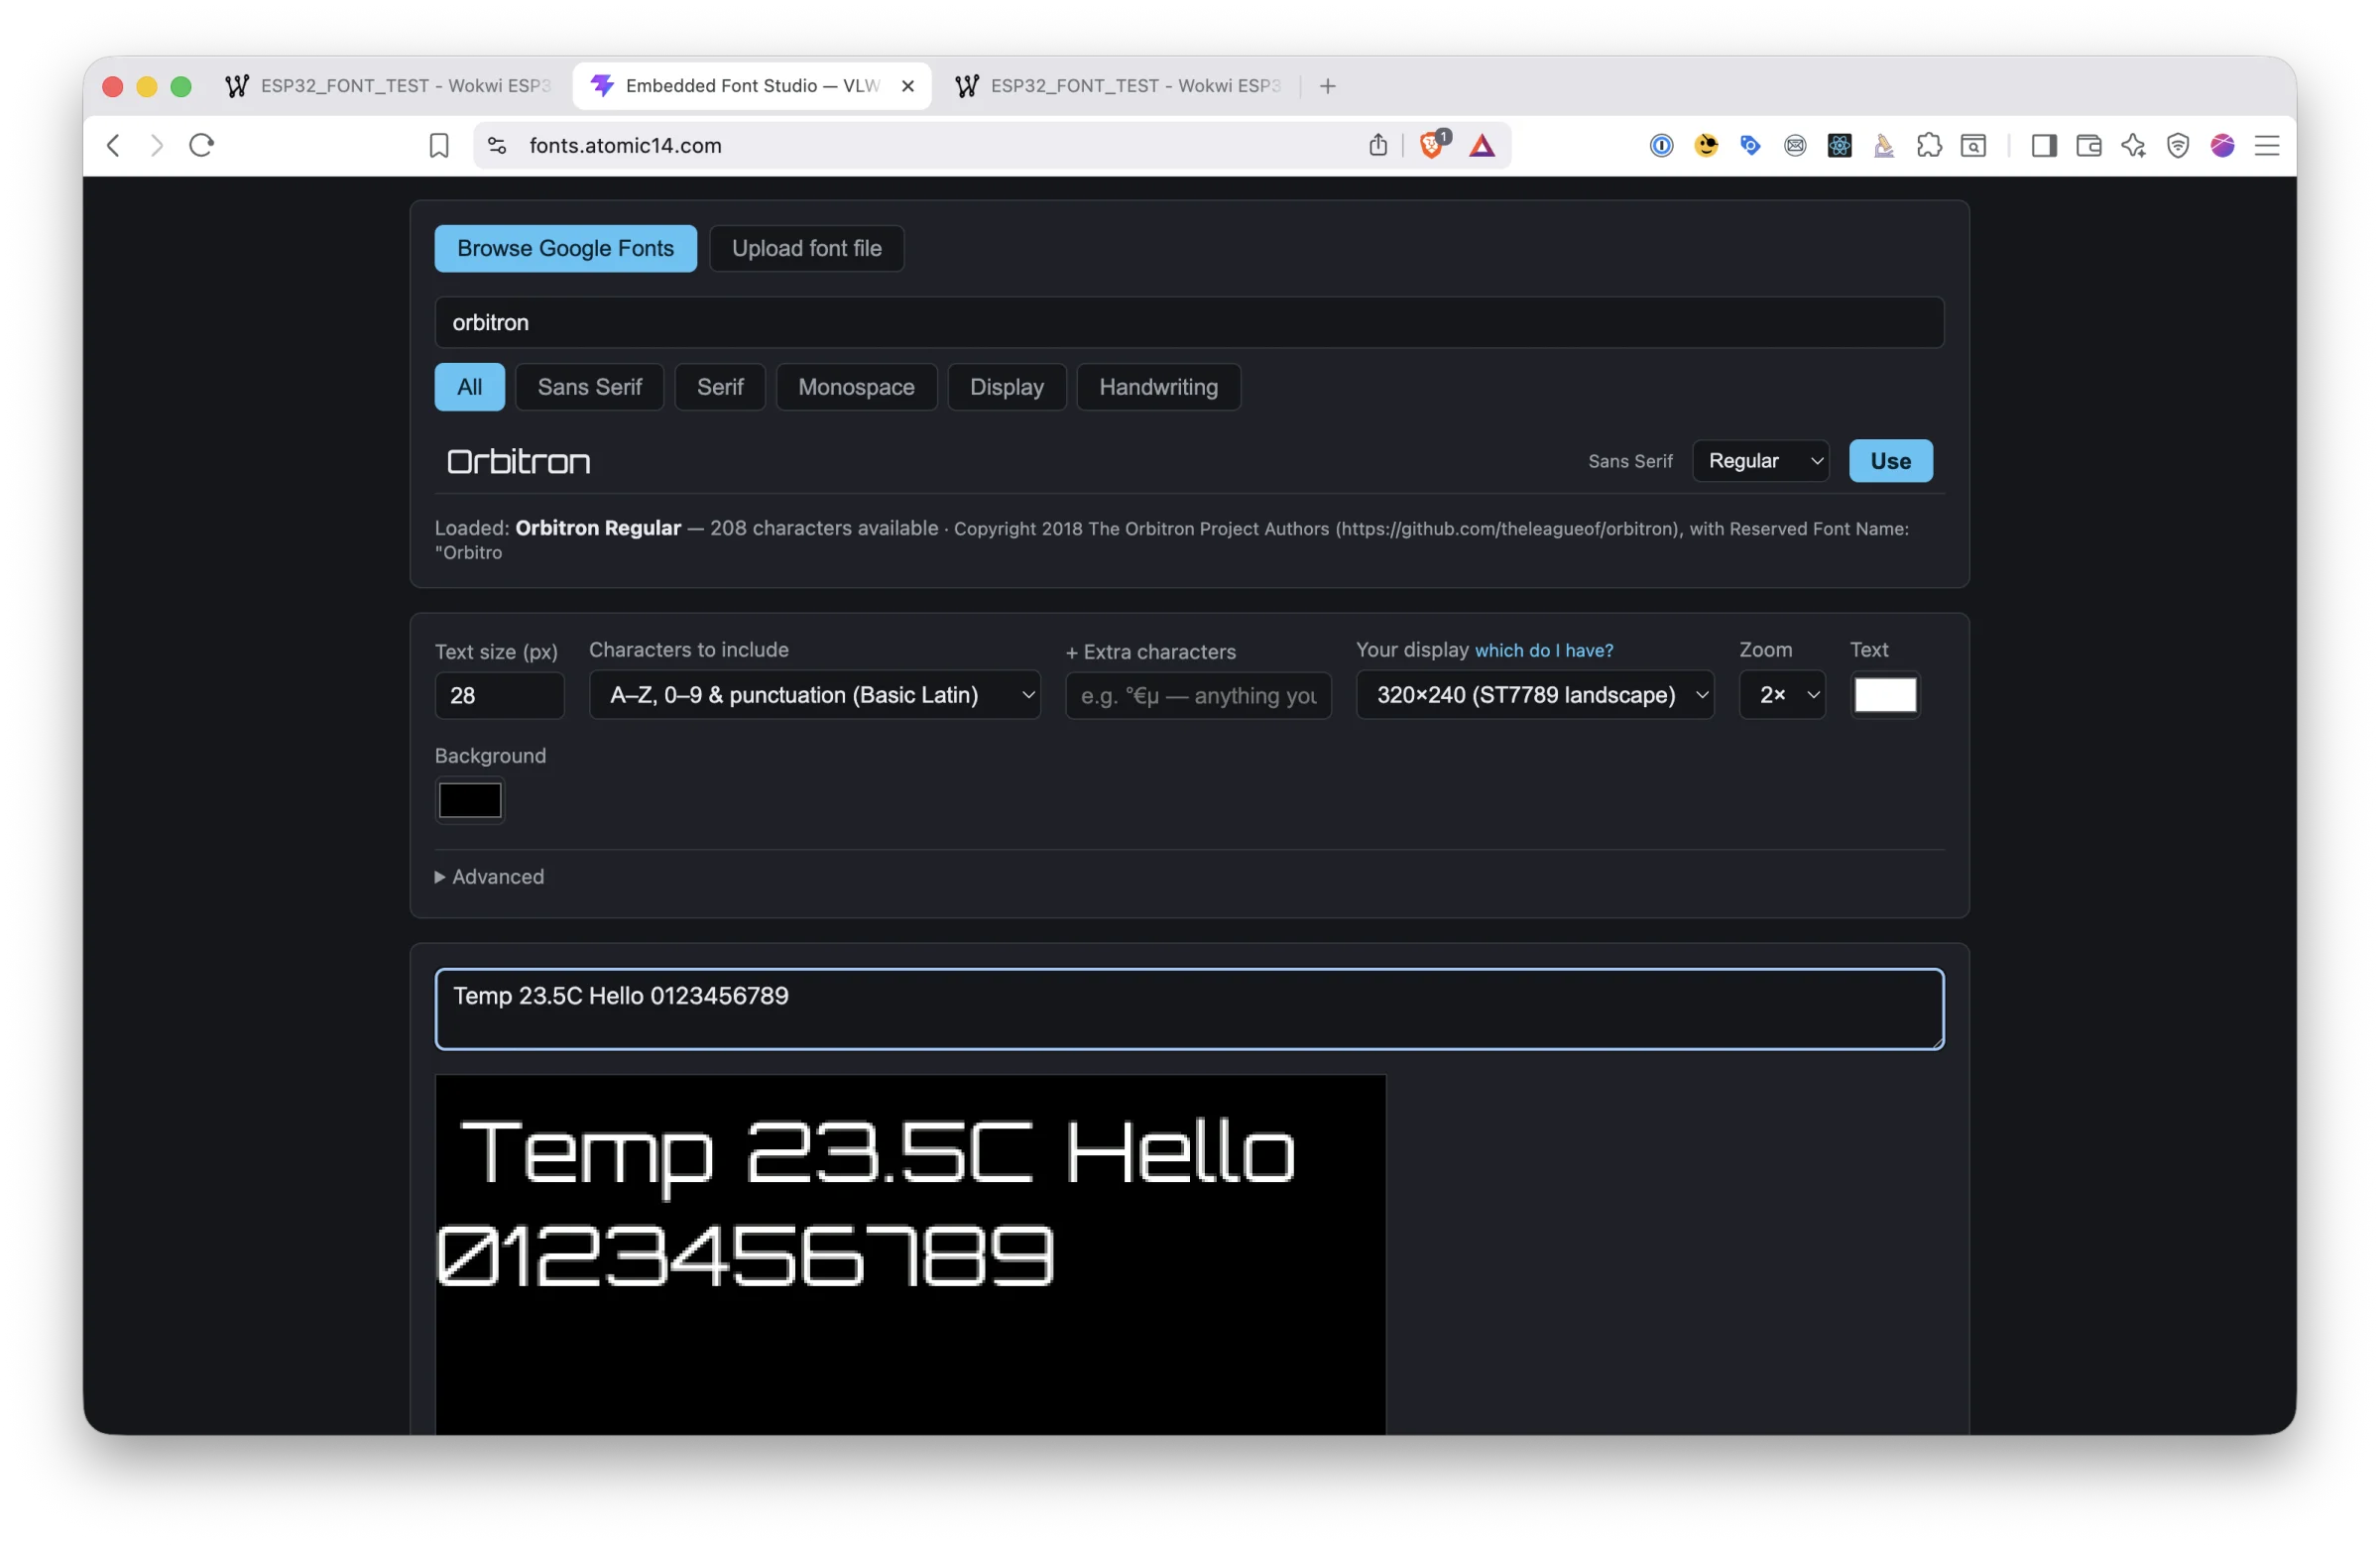
The rest of this post is about what’s actually inside these font files, and the handful of things worth knowing before you use them.
What a “smooth font” actually is
TFT_eSPI’s smooth fonts are VLW files, a format inherited from the Processing project. A VLW is gloriously simple: a small header (glyph count, size, ascent, descent), a table of per-glyph metrics, and then raw 8-bit alpha bitmaps, one byte per pixel. No vector outlines, no hinting, no kerning. The font was rasterized on a desktop, and the microcontroller just blits pixels.
The “smooth” part is that alpha channel. Each pixel stores how much of the glyph covers it (0 to 255), and at draw time the library blends between your text colour and background colour in RGB565 space:
pixel = (fg × alpha + bg × (255 − alpha)) / 256
This is why tft.setTextColor(TFT_WHITE, TFT_BLACK) needs both colours for smooth fonts: there’s no transparency, only blending toward a known background. Draw over a photo and you’ll get fringes around the letters. That’s not a bug in your font, it’s how the format works.
PROGMEM or LittleFS?
You have two ways to get a VLW onto the chip, and the tool exports both:
- A
.hheader with the font as a PROGMEM byte array. Easiest by far:#includeit, calltft.loadFont(MyFont28);, done. The font lives in flash alongside your code. - A
.vlwfile on LittleFS or SD, loaded withtft.loadFont("MyFont28", LittleFS);. Better when you have several fonts or want to swap them without recompiling, at the cost of the filesystem-upload dance.
Either way, remember to add #define SMOOTH_FONT to your User_Setup.h. Forgetting it is the number one cause of “why doesn’t loadFont exist” compile errors.
Keeping the files small
A glyph costs 28 bytes of metadata plus width × height bytes of bitmap. At 28 px, a full Basic Latin set lands around 25-30 KB; a digits-only font for a sensor readout can be under 2 KB. Every character you leave out is flash you keep. The tool shows a live byte count as you change the character set, and you can click individual characters out of the grid. If all you need is °C and ten digits, ship °C and ten digits.
Quirks the preview will save you from
Two behaviours surprise almost everyone. I made sure the preview reproduces both, because it renders with a port of TFT_eSPI’s own drawing code rather than the browser’s font engine:
- Text wraps at the right edge. When a glyph won’t fit, smooth-font drawing jumps back to x=0 on the next line. It doesn’t clip.
- Spaces don’t use the font’s real space width. The library guesses
(ascent + descent) × 2/7pixels instead. Word spacing on the device will never quite match your desktop’s rendering of the same font, but the preview matches the device, which is the thing that counts.
And if a character shows up blank on the display, it’s almost always because it wasn’t in your subset. The degree sign is the classic victim: it’s not in Basic Latin, so a temperature readout quietly comes out as “23.5C”. Adding it to the extra characters box fixes it, and the preview will show you the gap before your display does.
Try it without any hardware
Every font you make can be tested on a simulated ESP32 and ILI9341 display in Wokwi: one click copies a complete test sketch with the font embedded and opens a pre-wired template project. Paste it in, press play, and you’re looking at your font rendered by the real TFT_eSPI library on an emulated panel.
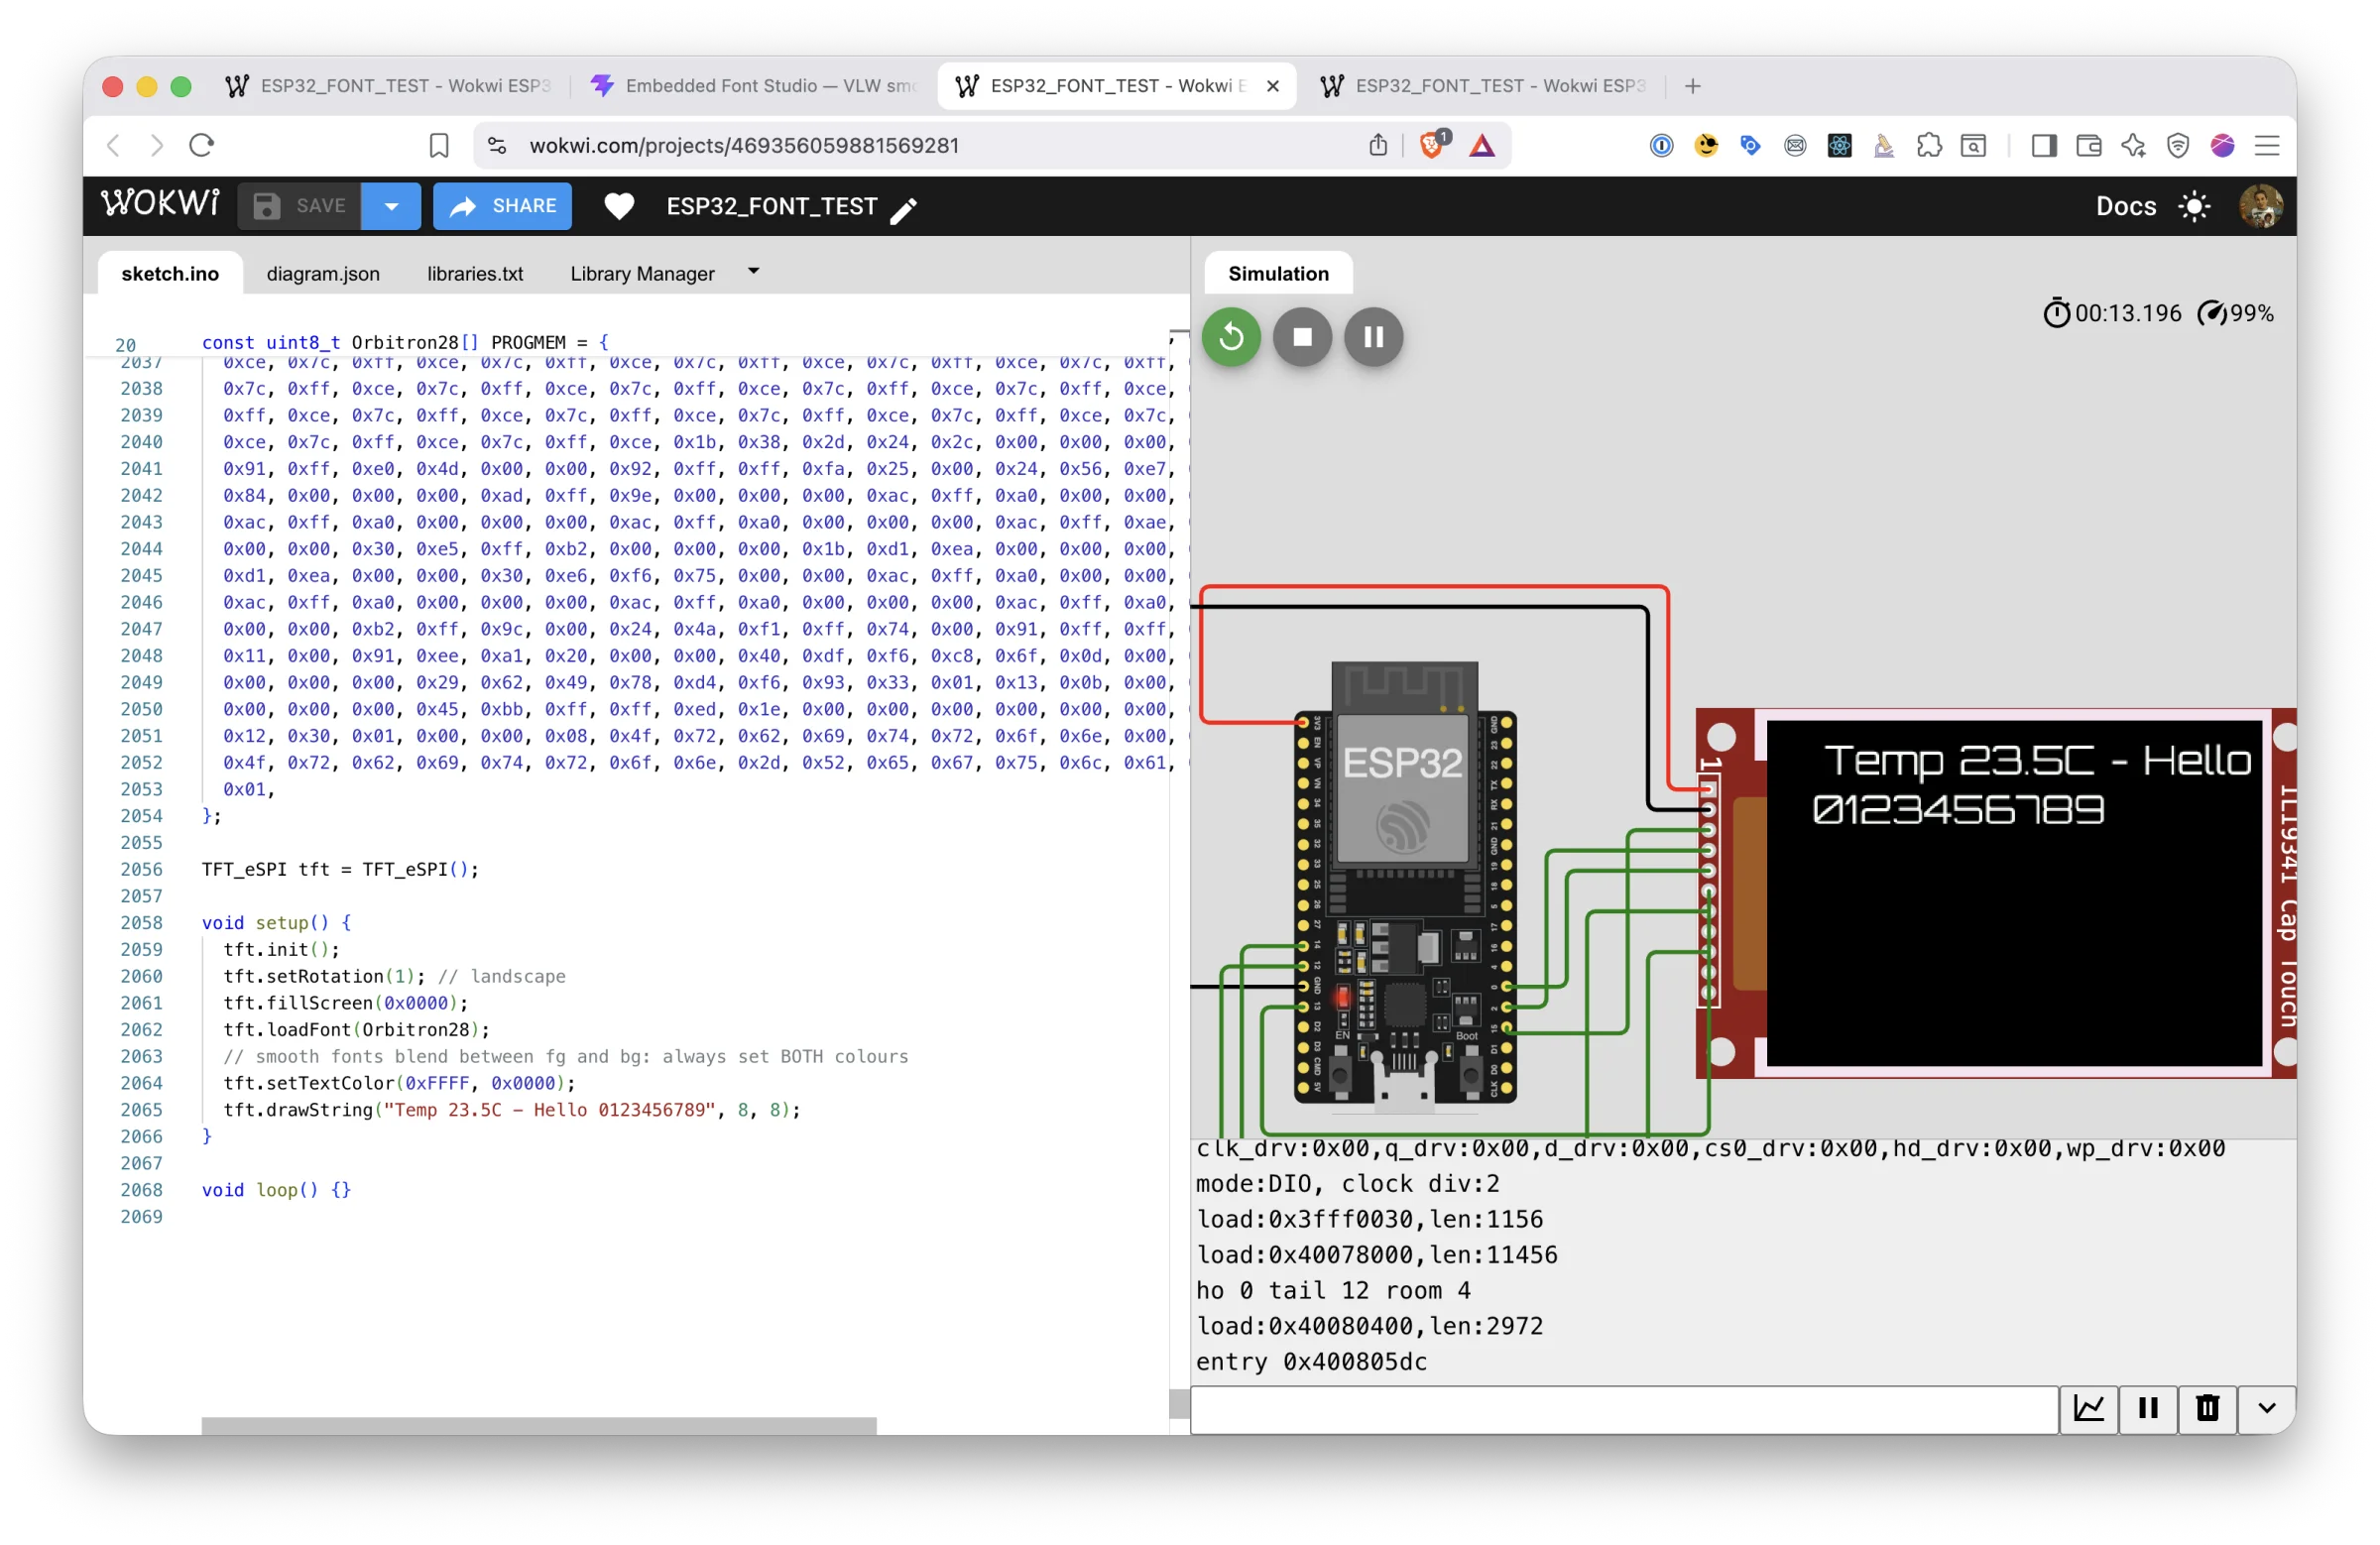
The download also includes a ready-to-flash Arduino test project if you’d rather see it on real hardware.
LVGL too
The same subsetting and rasterization pipeline exports LVGL fonts: C arrays compatible with what lv_font_conv produces, at 1, 2, 4 or 8 bits per pixel. If your project uses LVGL or SquareLine Studio, grab that file instead.
Under the hood, for the curious
The VLW writer is byte-for-byte compatible with Processing’s PFont.save (verified against golden files), the renderer is checked against TFT_eSPI running in an emulator, and the LVGL writer is calibrated against real lv_font_conv output. The whole thing is client-side: opentype.js parses the font, a Web Worker rasterizes the glyphs to alpha bitmaps, and TypeScript writers produce the output bytes.
Go and make something less 1980s: fonts.atomic14.com. And if you’re still choosing a display to pair it with, the ESP32 display boards database has every popular board in one filterable table. I’d love to hear how you get on.