As you wonder around town, have a look in the gutters (or if you’re feeling brave rummage around in pub ashtrays), you’ll notice a pretty nasty trend. There are now a large number of disposable vape devices that aren’t getting recycled.
It’s terrible for the environment, but it’s a great source of free lithium cells for our projects.
So far, I’ve only managed to score a couple, but I know of people who can’t seem to stop finding them. I guess it’s the same people who always seem to find pennies when they are walking around.
The first battery I found was still lodged inside it’s pretty grotty container. The top had already been lost and I was able to pull the base off with some pliers.

I pushed out the contents with a long screwdriver, taking care not to poke the battery directly.
It’s pretty disgusting and it is covered in the special magic fluid. I really regretted not wearing rubber gloves for this procedure and in the future I’m going to be a lot more careful.
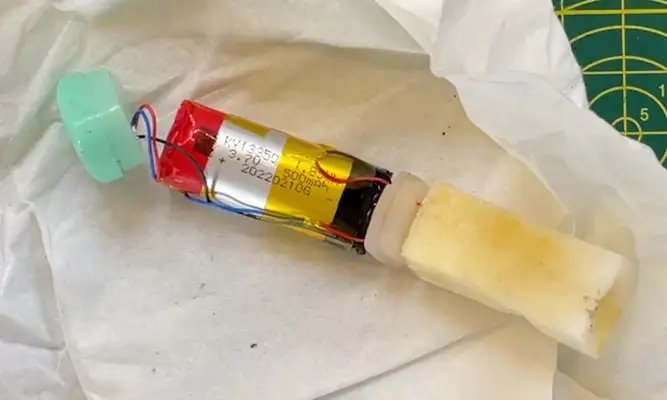
If you watch the video above you’ll also see a slightly scary moment when I was snipping off the atomiser and released a final puff of smoke. I briefly thought the battery was about to blow up!
The second battery looked like it had been run over and I initially thought the cell had been squashed, but it’s actually the same shape as the first one and when I tested its voltage it still had 3.7 volts left.
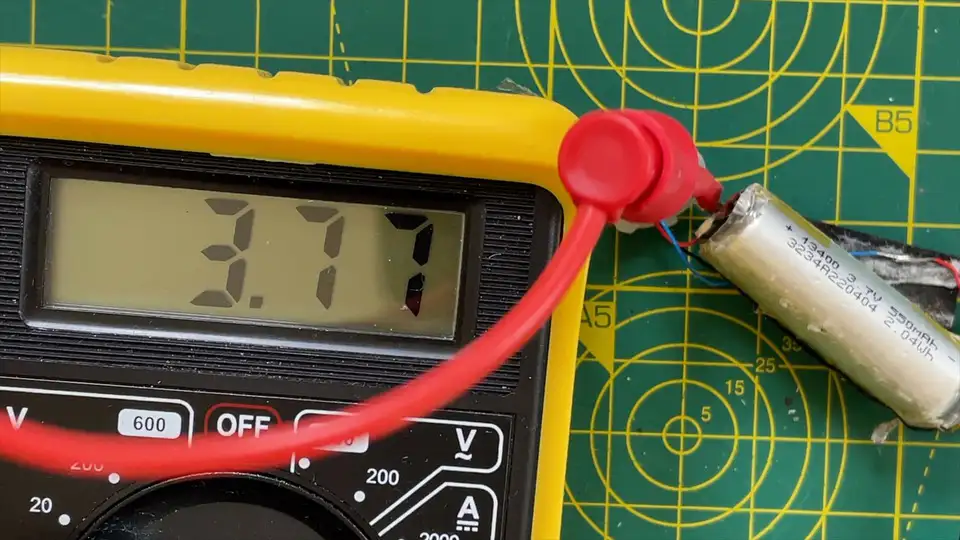
With both the batteries I tacked on a couple of wires and charged them up using a TP4056 based board. These boards are pretty nice and have battery protection built in - which is good as these free cells don’t have any protection PCBs.
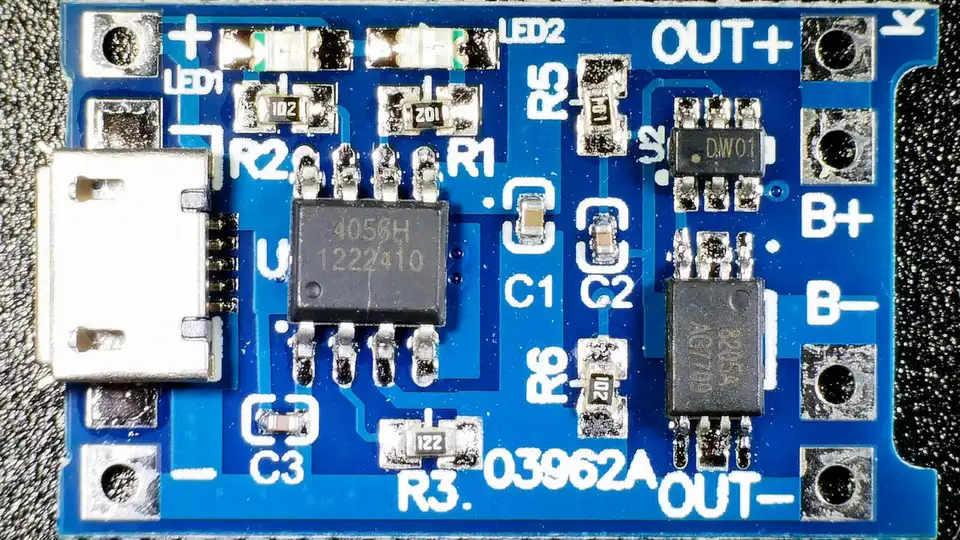
Each cell charged up in an hour or so to 4.2 volts.
The first battery claims that it has 500mAh capacity and remarkably connecting it up a battery capacity checker gave this exact value.
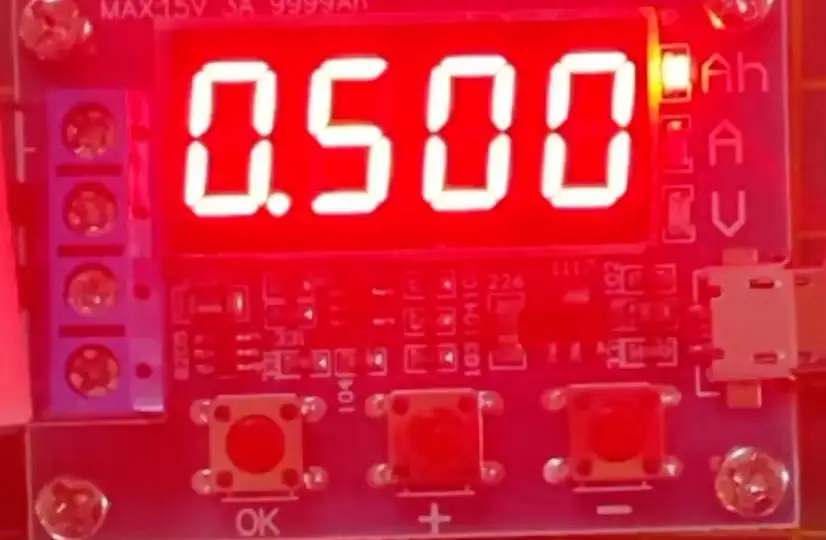
The second battery claims 550mAh capacity and our battery tester gives us 566mAh.
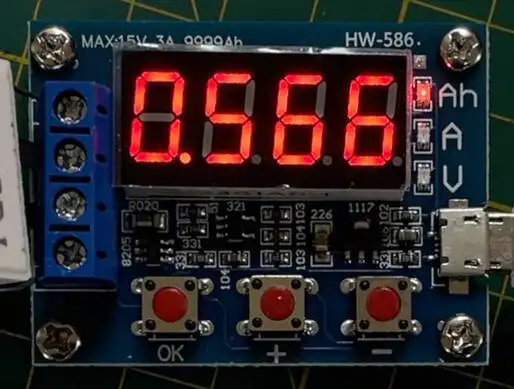
Now this battery tester is pretty simple and it’s not particularly accurate. It can be calibrated to improve the accuracy, but even with that it’s not very good. It does give us a reasonable estimate though.
So I decided to splash out on this fancy pants tester since I’m planning on trying to find more cells.
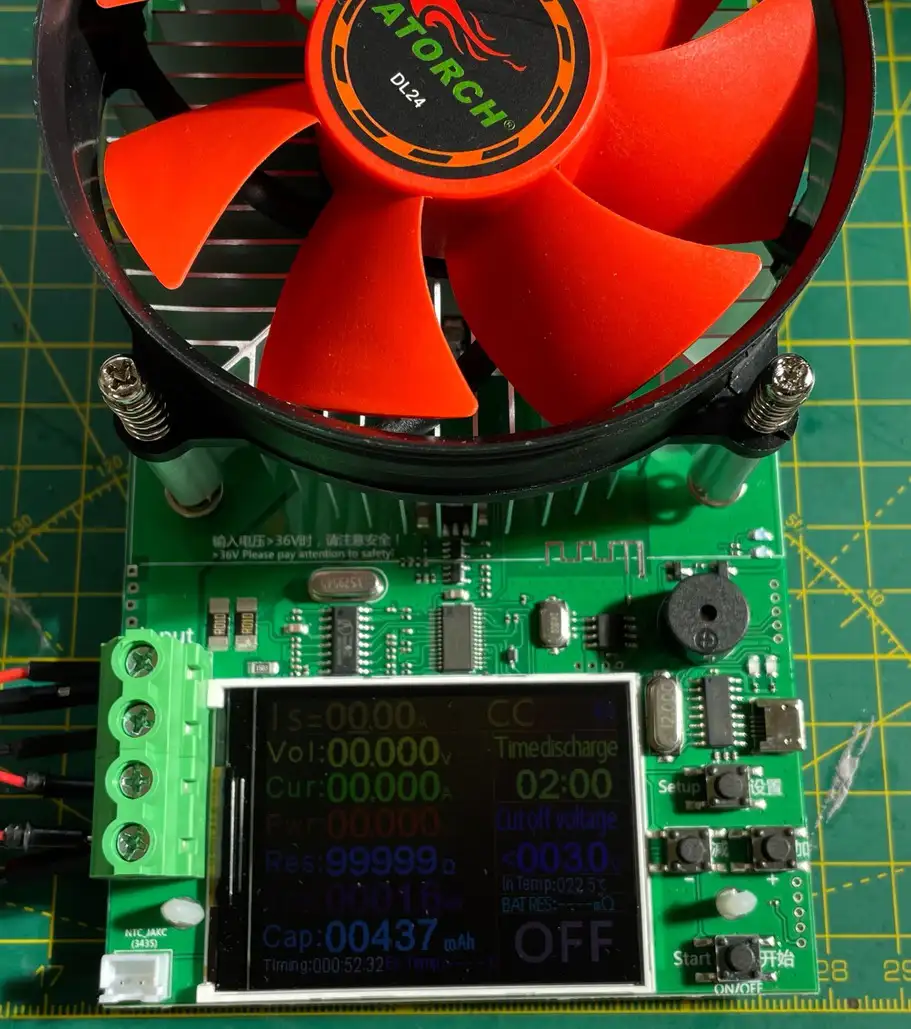
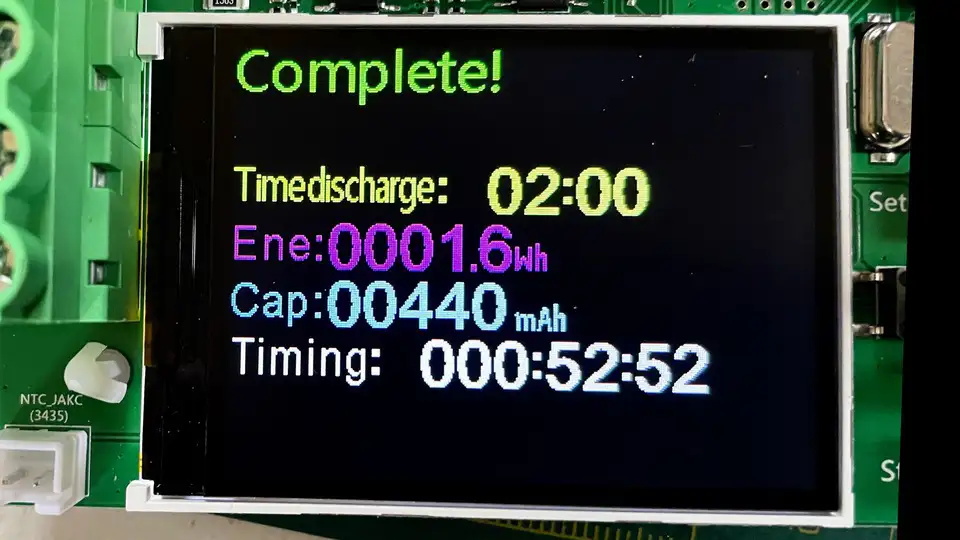
For the first 500mAh battery I got 440mAh.
And for the second 550mAh battery I got 567mAh.
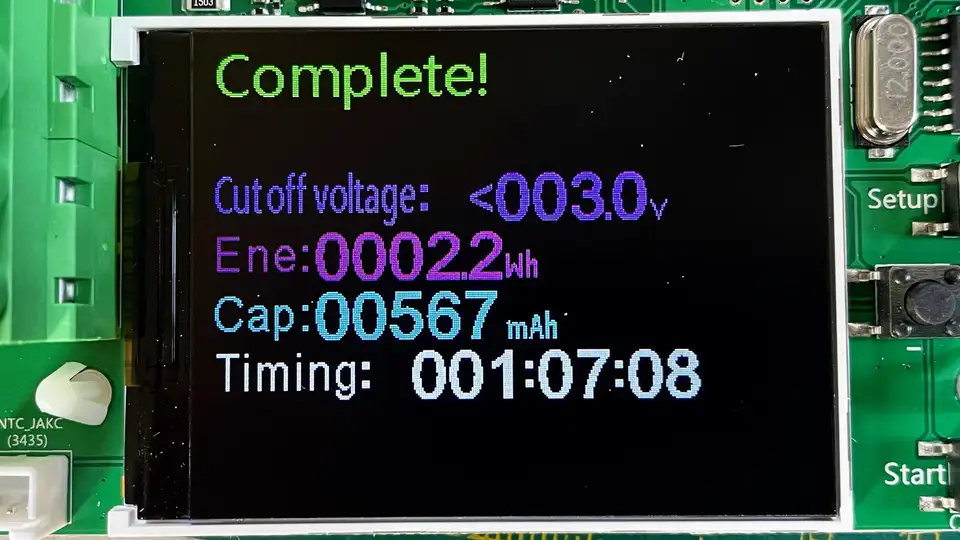
So we’re still getting pretty good results and I may have dischared the first battery before testing it.
Playing around with the cheap battery tester got me thinking. It’s not doing anything clever - it should be possible to recreate it with parts I’ve got lying around.
There’s a 0.02 ohm shunt resistor along with an op-amp for sensing the current. And there’s a MOSFET for switching the load into the circuit.
Under the display there’s a seven segment driver and an MCU. There’s a great tear down video here of this device along with some details on why it’s not very accurate.
All the board is really doing is measuring the current and then integrating that over time until the battery voltage drops below a threshold. This gives us the Ah capacity of the battery.
\(\int_{0}^{T}I\ dt\) \(while\ V>=3.0\)
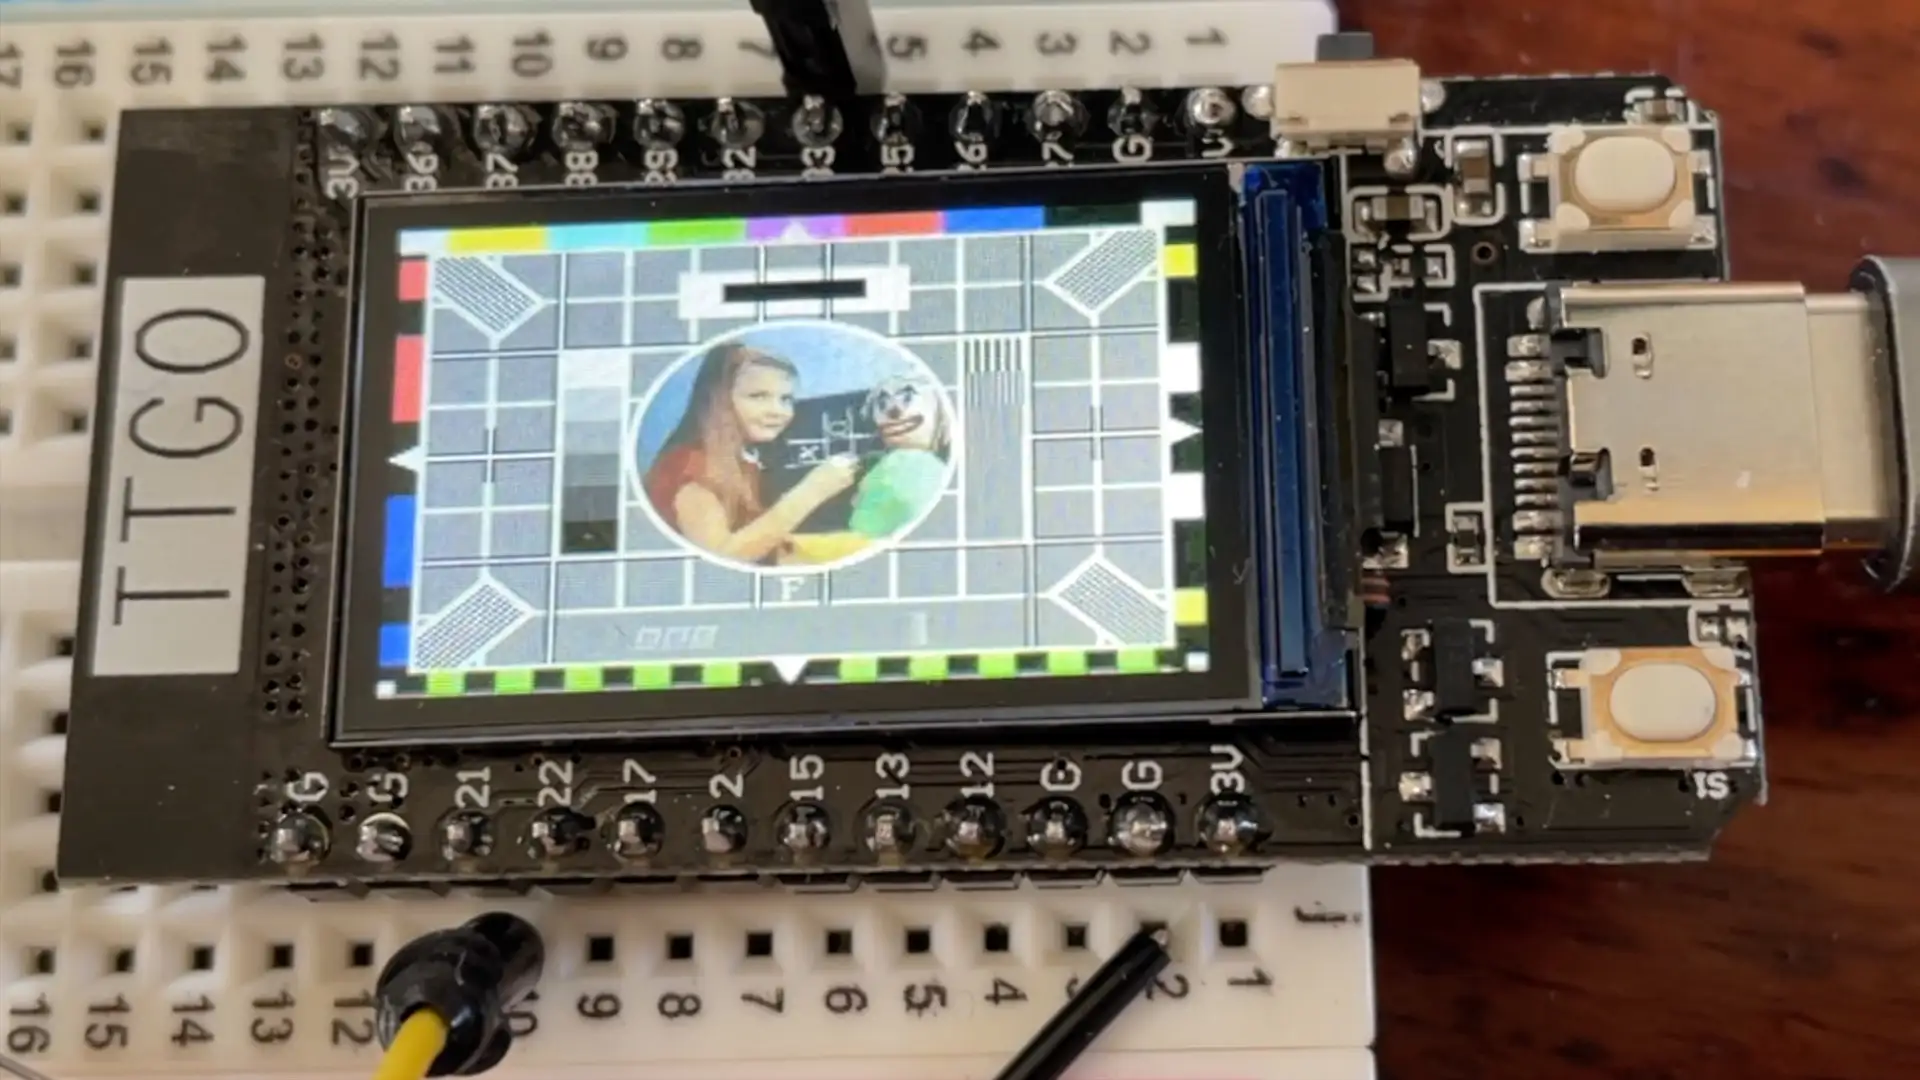
I’ve got a whole bunch of ESP32’s lying around including this one with a nice colour display and the ESP32 has a built in Analog to Digital Conterter so I’ve we’ve got something we can use to build our own slightly crappy battery tester.
If we know the resistance we are discharing the battery through we can calculate the current and sum that up over time to get the Ah value.
I’ve sketched out this very simple circuit - the ESP32 only goes up to 3.3 volts so I’ve got a simple voltage divider of two 10K resistors halve the maximum 4.2V that the battery will output down to 2.1V.
To discharge the battery I’ve got a 5W 7.5 ohm resistor and I’m switching this into the circuit using a power MOSFET. This will let us switch off the battery discharge when the voltage drops too low.
The battery will continue discharging through the 20K divider, but we’re not going to be leaving it connected forever so this should not be a problem.
I’ve also added a little indicator LED to the gate of the MOSFET so we can see when it is turned on.
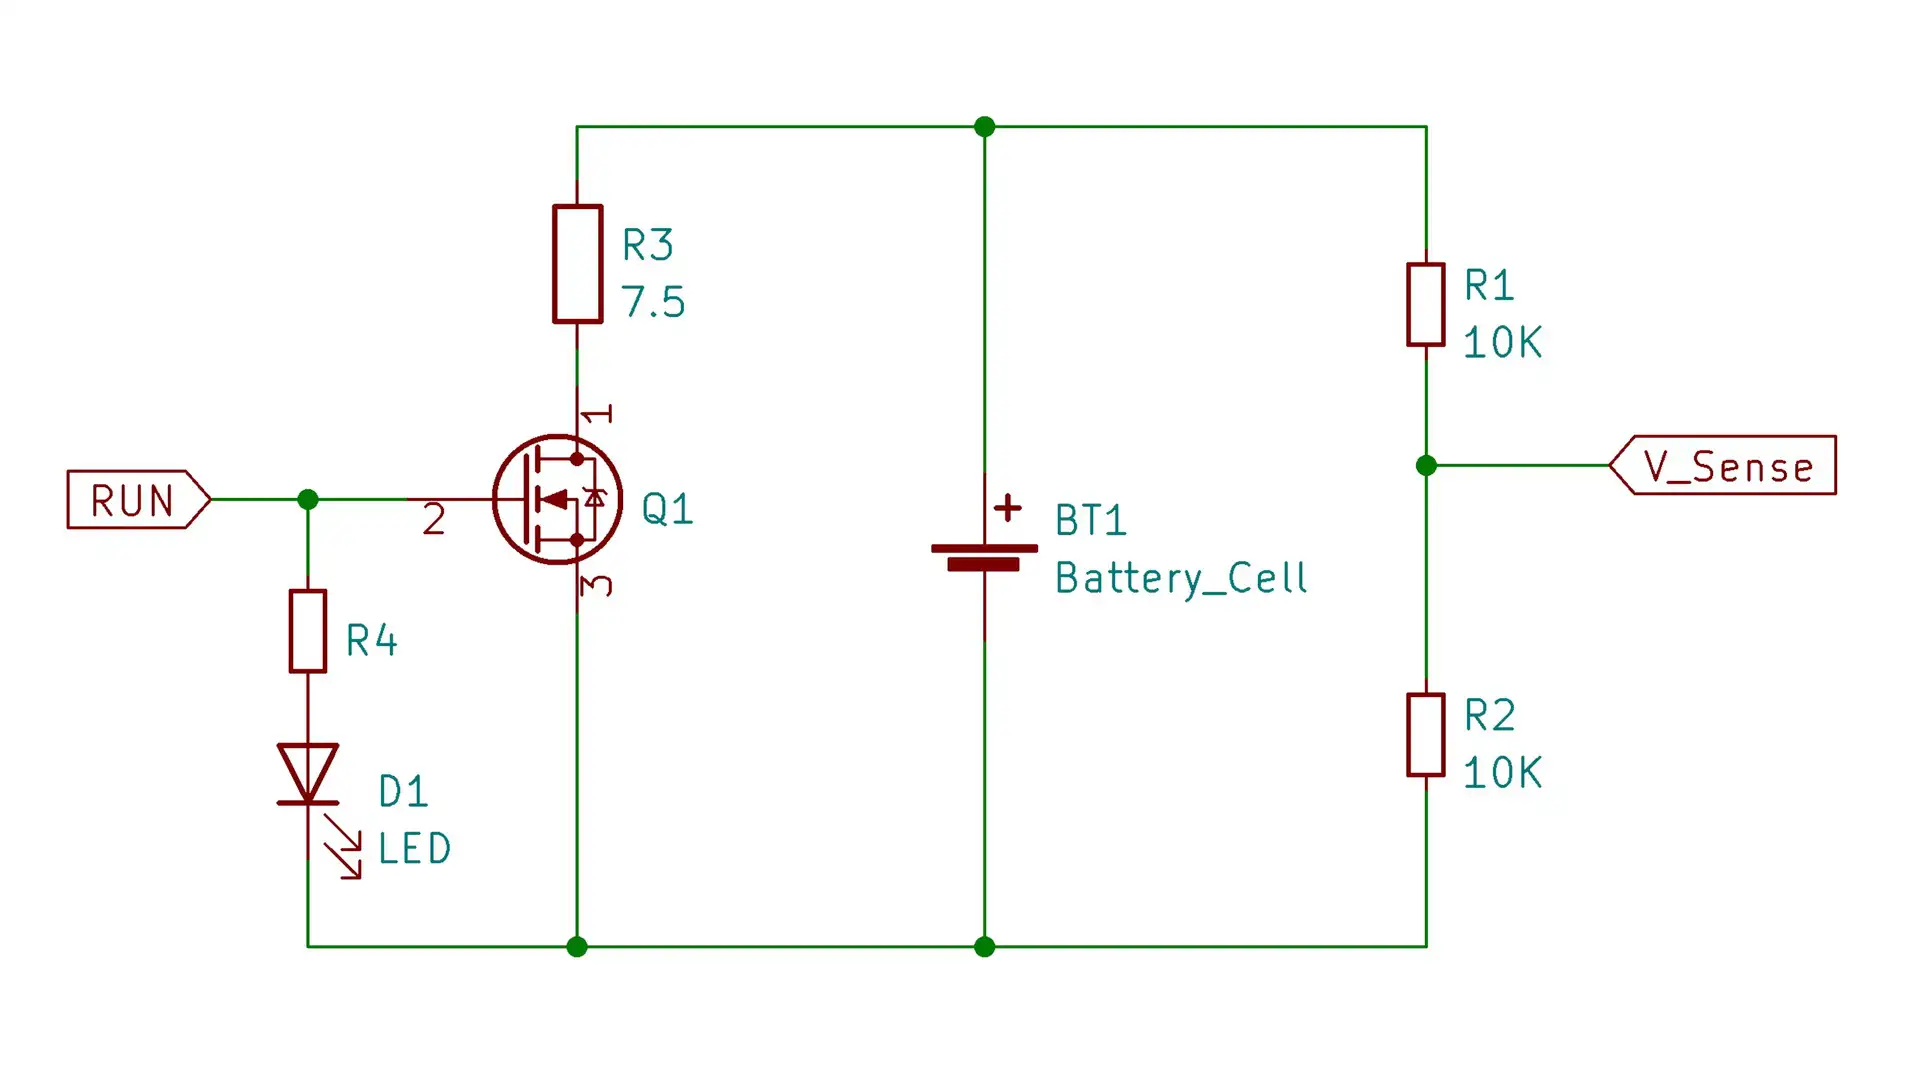
When the MOSFET is turned on, the total resistance that the battery will be connected to is 8.6ohms - so we’ll use that to calculate the current flowing.
I’ve also measured the two potential divider resistors to make sure my voltage calculations are correct.
Having said that, the ADC on the ESP32 is notoriously inaccurate, so we’ll only really be able to get approximate values without doing some calibration. It’s also very noisy, so I’m taking multiple measurements and then averaging the result.
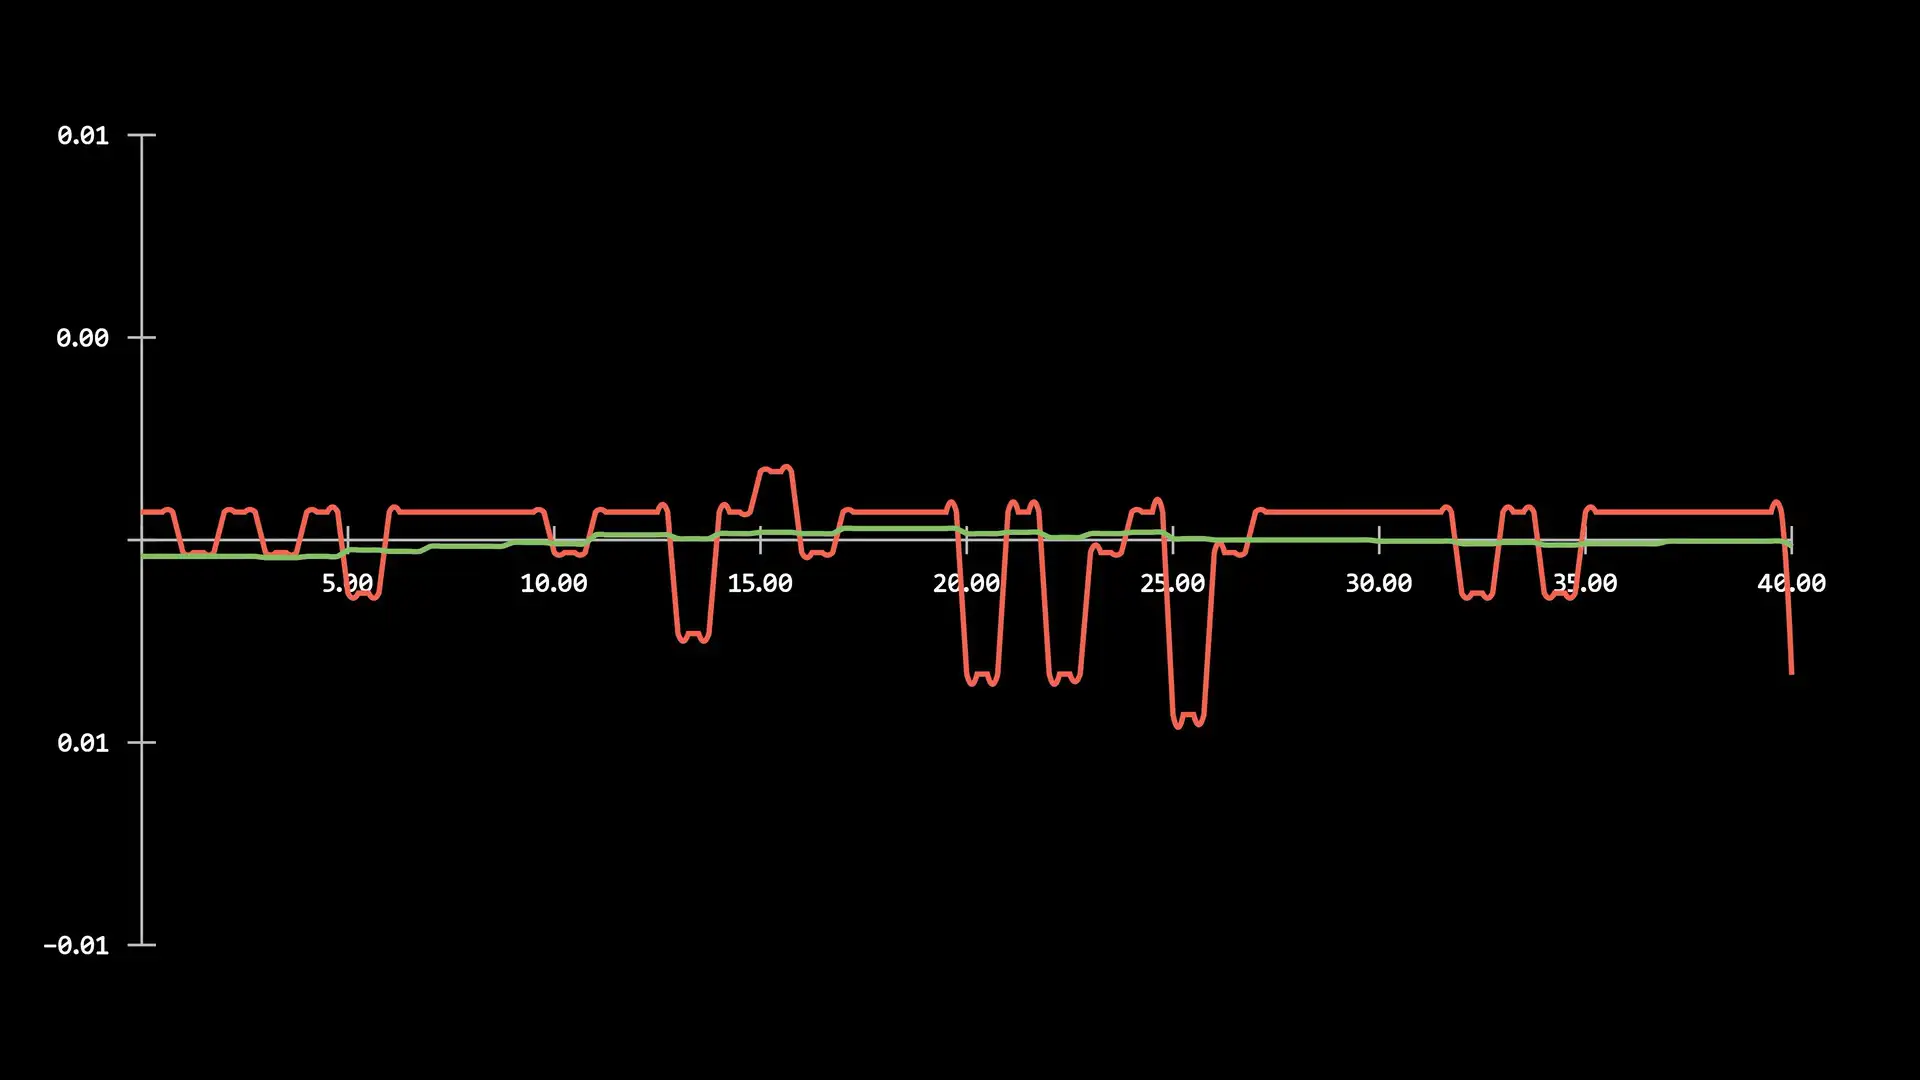
The software is very simple. We start off in an idle state with the MOSFET switched off.
When we connect the battery we see the voltage go above 4v and switch into the measuring state. We turn on the MOSFET, reset any calculations. And then we start to acumulate the current we measure over time.
When the voltage drops below 3 volts we switch back into the idle state and turn off the MOSFET.
The battery capacity can then be read off the screen.

It works pretty well - we’re in the same ballpark as the other battery tester. Though both that and our DIY version are going to be pretty inaccurate.
My measurement of the total resistance when the MOSFET is turned on is probably not very accurate, my multimeter is a pretty cheap one. And we are dealing with the ESP32’s very inaccurate ADC.
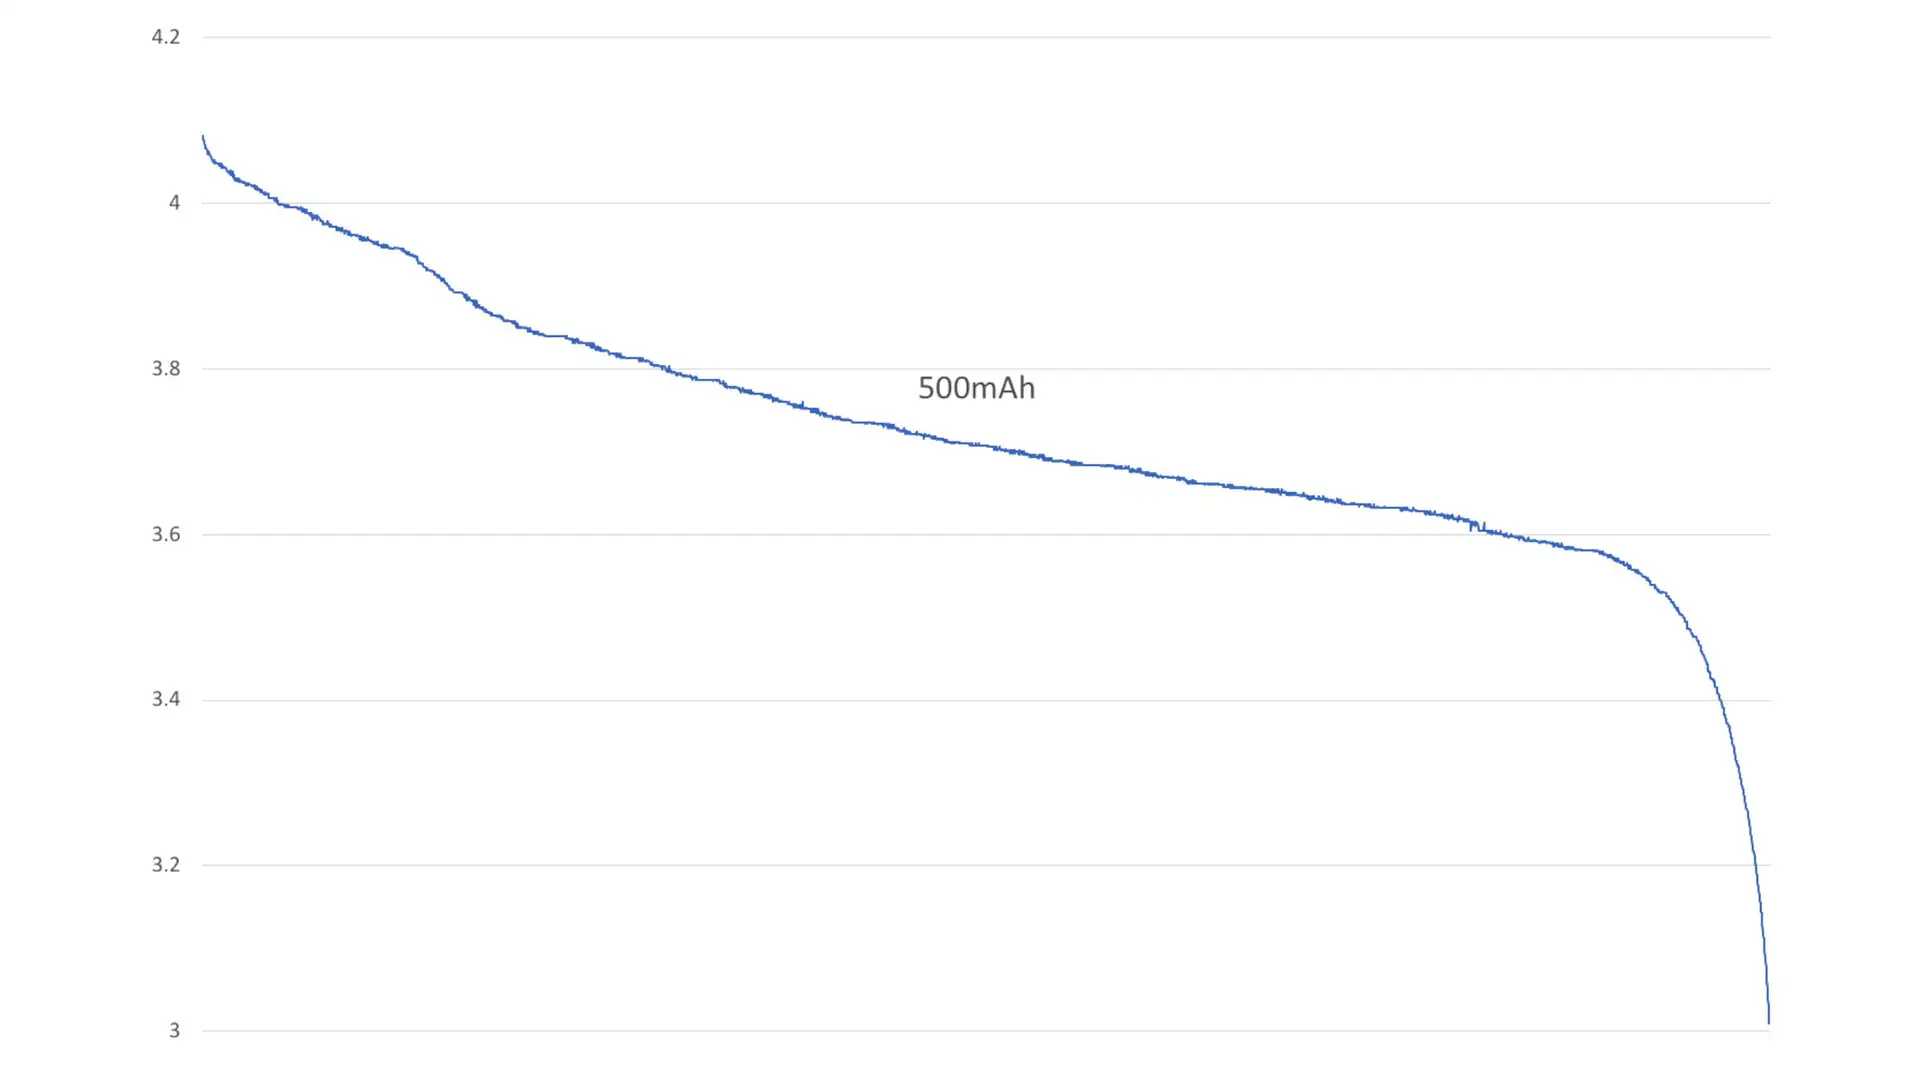
I’ve also recorded the battery voltage on the serial monitor every second so we can plot the discharge curve of our cells. This is the 500mAh cell.
And this is the 550mAh cell.
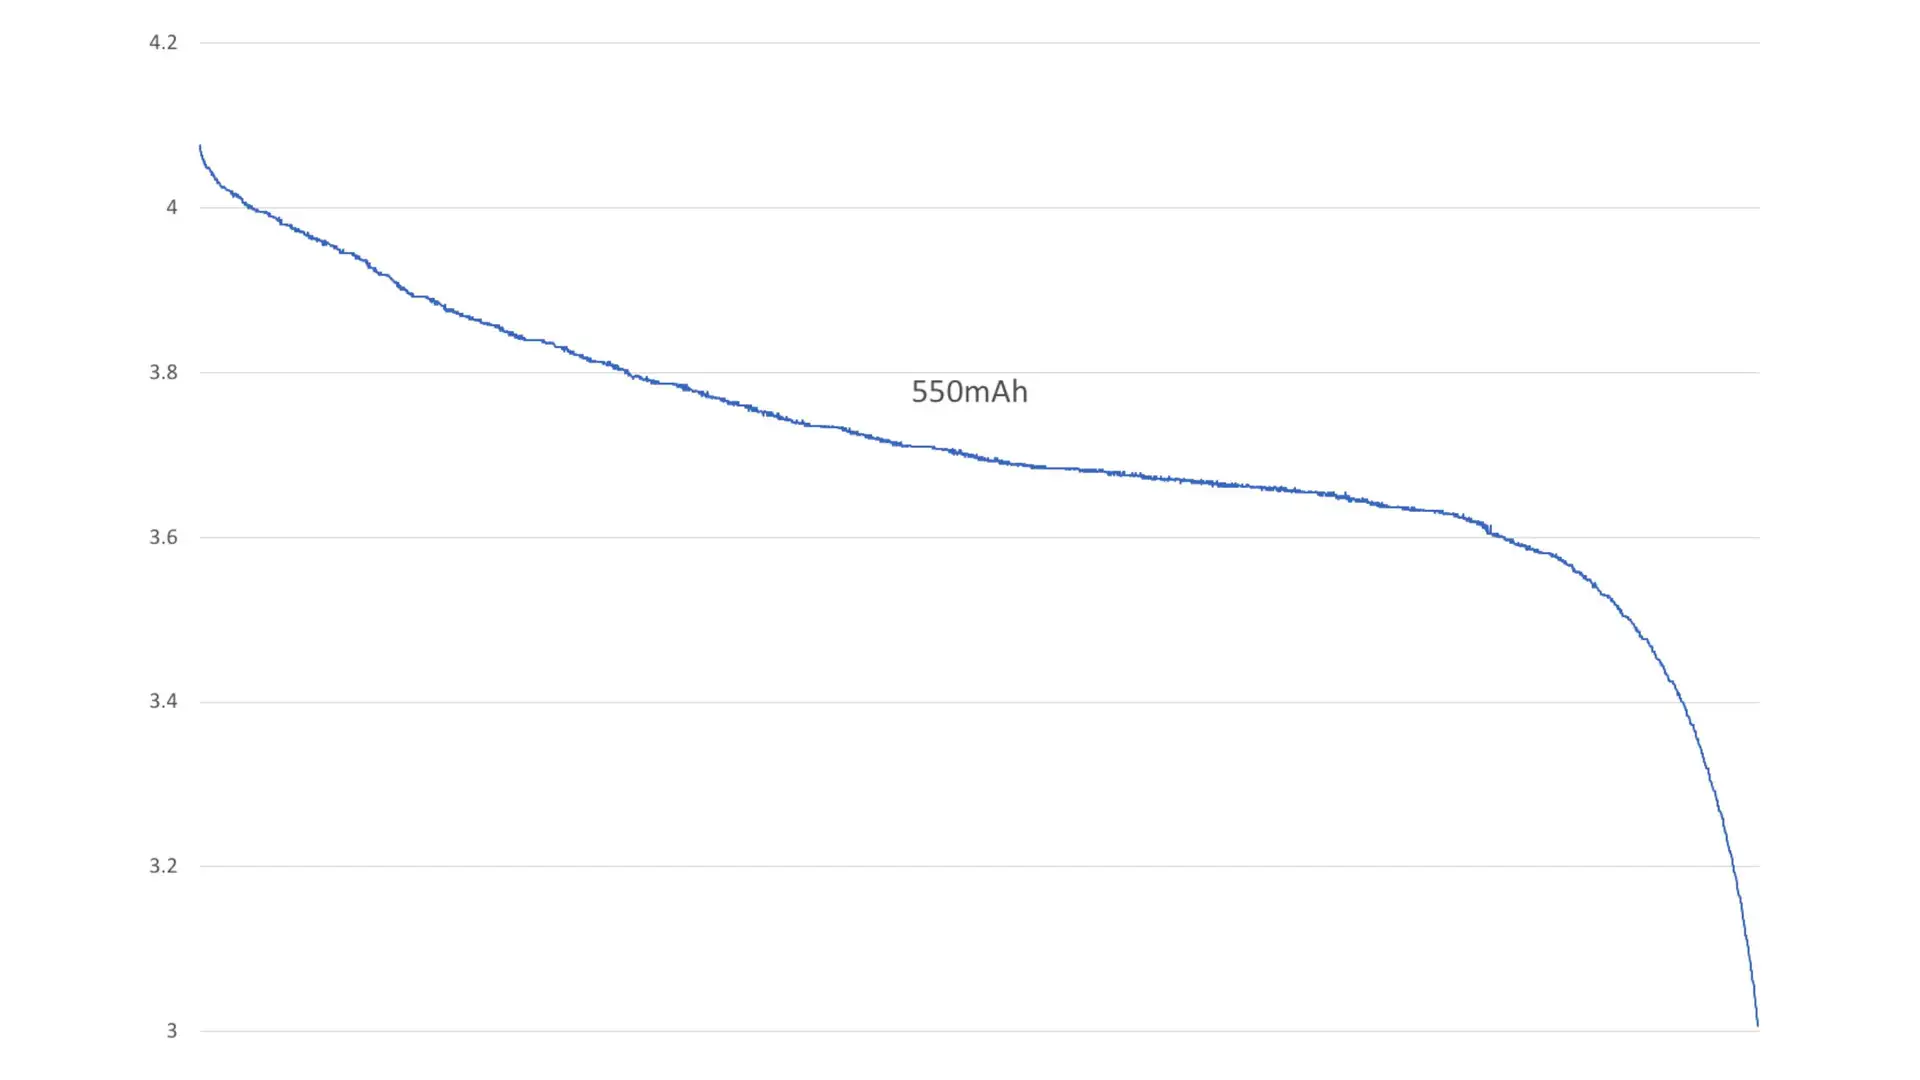
These seem to match the curves that I see online for batteries so that’s a pretty good result!
We can also get an estimate for the internal DC resistance of the batteries. We can see that the battery voltage under load was 4.078V, assuming the battery was fuly charged to 4.2V we’re dropping 0.122V in the battery.
Given the current of 0.474A we can calculate the internal resistance to be approximately 0.26ohms.
This is obviously a very approximate calculation given all the errors in the our system.
So we’ve got a couple of healthy batteries, you would think we can go ahead and use them in our projects - well, not so fast batman.
But there’s one issue - there is no battery protection board.
That’s fine if we always use our charging board with the built in battery protection, but we really should not use these bare batteries anywhere else. We need to make them safe.
So I’ve bought some battery protection boards, these boards feature the DW01 protection chip along with the dual mosfet. It’s exactly the same circuit as we have on our charger board.

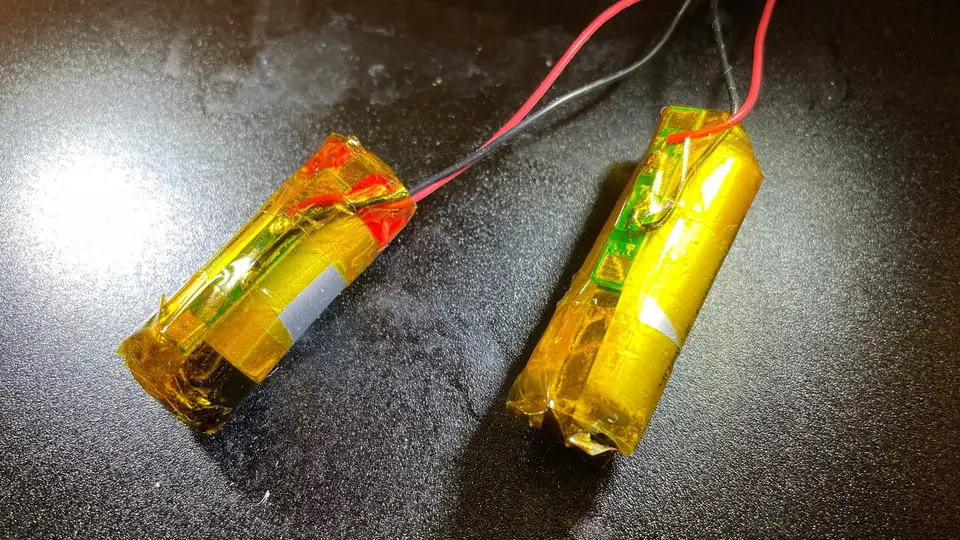
I’ve tacked a couple of wires onto the output pads. And I’ve soldered the tabs to the battery tabs.
Everything is now wrapped up in Kapton tape and we’ve got a couple of safe free 500mAh batteries!
We can see this in the discharge graph - I’ve changed the code so that it does turn off the MOSFET unless the voltage drops below 2.5V. But as you can see when we drop to 3V the battery protection cuts and we drop down to 0V, this makes our code turn off the MOSFET.
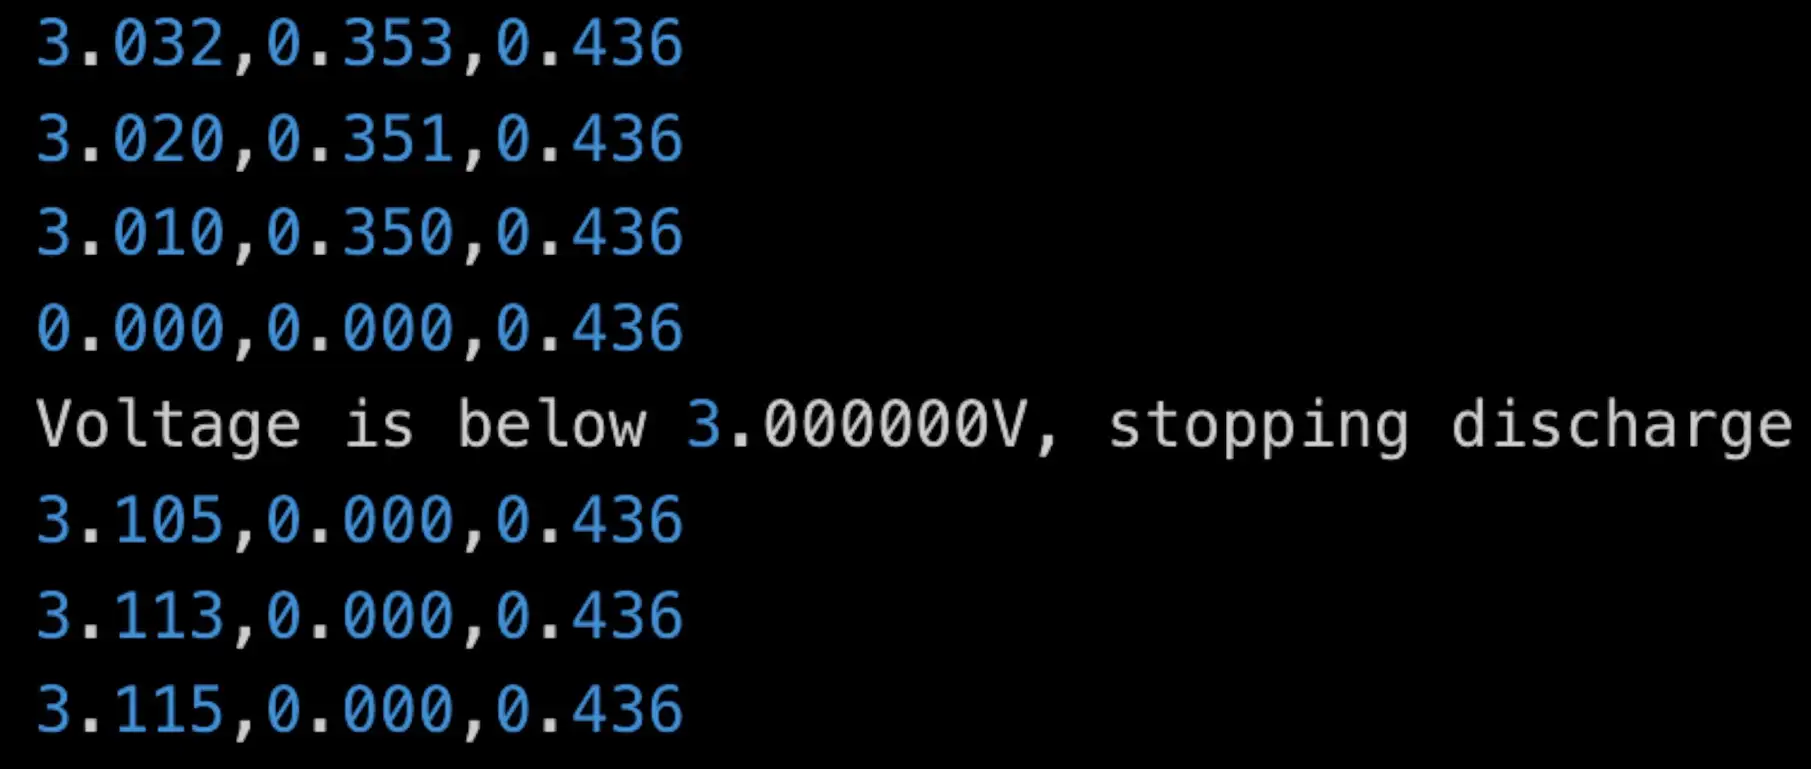
You can also see the effect of the batteries internal resistance - as soon as we remove the load the voltage jumps back up above 3.0V.
So, keep your eyes peeled and help to make the world a slightly cleaner place by recycling these batteries.
The two battery testers I’m using are available here:
And you can get the ESP32 board with the display from here:
You can watch a video version of this blog post here: