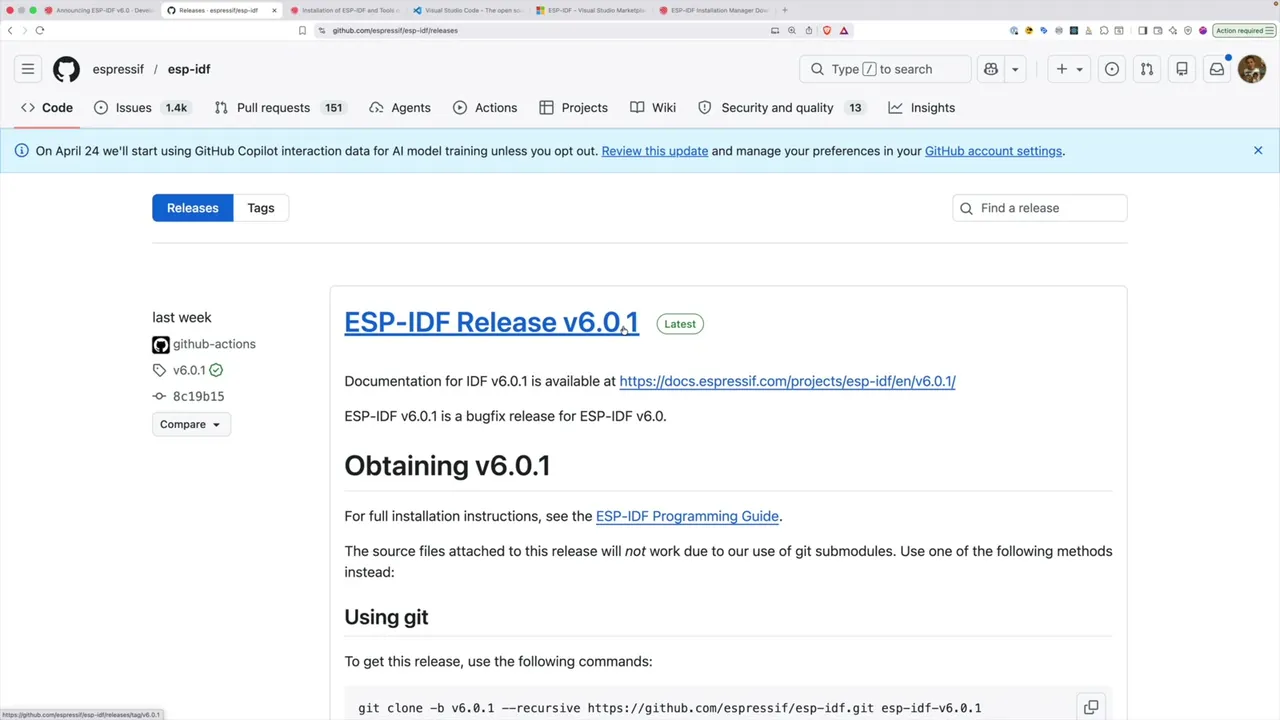
ESP-IDF v6 dropped back in March and the GitHub releases page is already showing v6.0.1 - so I figured it was time to stop hiding in the v5.x cave and actually try it out.
This is a nice gentle introduction. We’ll install the IDF, wire it up to VS Code, build the classic Blink example for an ESP32-S3, then start poking at menuconfig to do the things you can’t easily do from the Arduino IDE.
Prerequisites
If you’re new to the ESP-IDF there are a couple of prerequisites to install before anything else. I’m on a Mac so for me it’s a quick brew install ... from the official setup page. Windows and Linux instructions are on the same page - just pick your platform.
If you don’t already have Homebrew, grab that first.
VS Code and the ESP-IDF extension
You don’t have to use VS Code, but the ESP-IDF extension is genuinely nice and makes everything much less painful, so that’s what I’m going to use.
In VS Code, open the Extensions panel, search for ESP-IDF and install the official Espressif one.
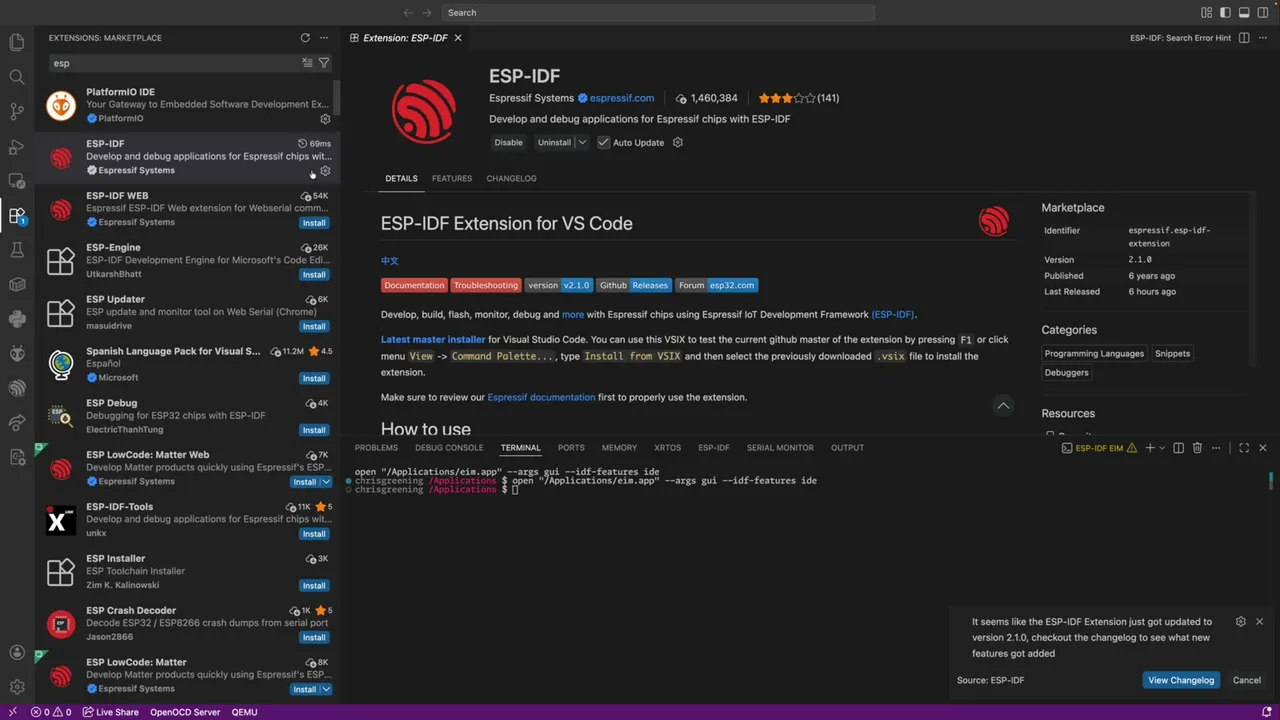
Once it’s installed you’ll get a little ESP-IDF Explorer icon in the side bar.
Running the Installation Manager
Click the ESP-IDF icon, go to Advanced and pick Open ESP-IDF Installation Manager. The first time round it’ll tell you the EIM executable can’t be found and ask you to choose a download mirror. Unless you’re in China, GitHub is the right answer (if you are in China, the Espressif mirror is likely faster).
That fires up the actual installation manager:
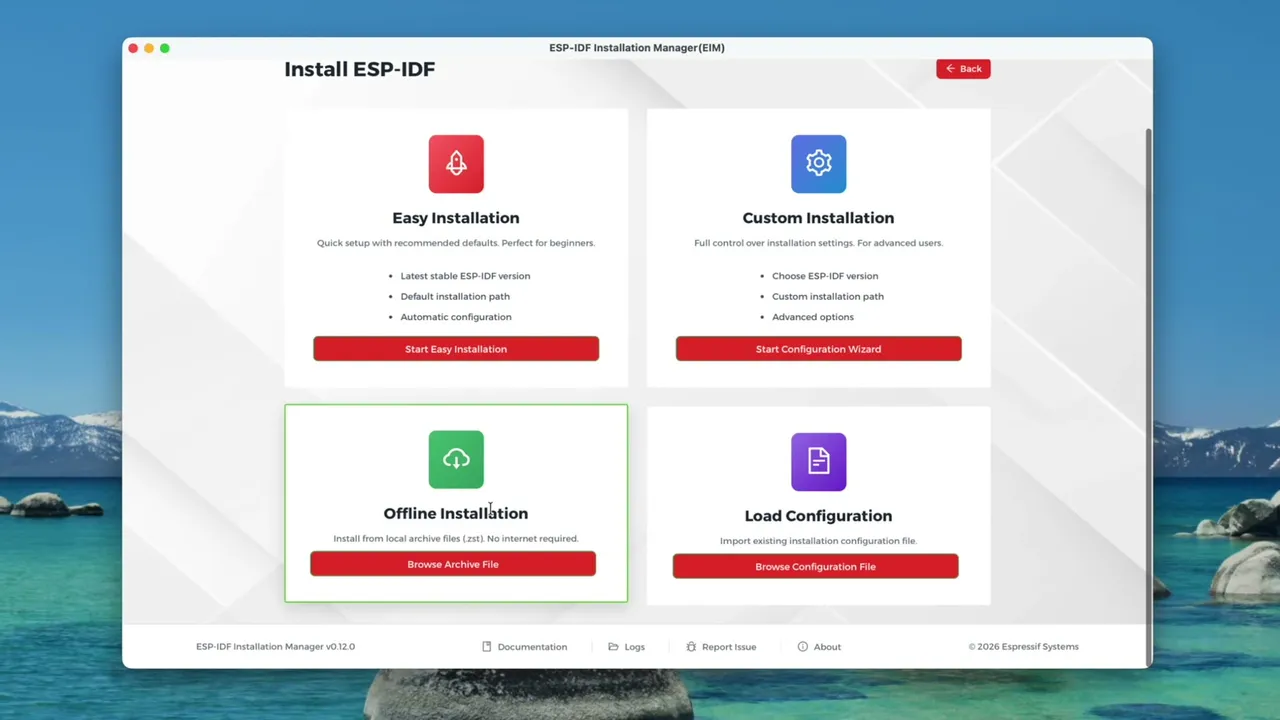
There are four options here but really only two you’re likely to care about:
- Easy Installation - sensible defaults, downloads everything, just works.
- Offline Installation - you download a 3-4 GB archive from the Espressif site separately and point the installer at it. Worth doing if your internet is flaky - you can put the archive on an SD card and avoid endless mid-install retries.
I went with Easy Installation. Espressif say it can take 10-45 minutes depending on your connection, which feels about right - it has to clone the whole IDF from GitHub, then download 10 toolchain bundles, then set up Python.
The progress bar is… let’s say creative. It cheerfully ticked back up to 39 seconds at one point.
After a quick “12 seconds left” stand-off, the dashboard finally shows ESP-IDF v6.0.1 as an installed version:

Creating a project
Back in VS Code, the ESP-IDF Explorer has a little + icon for the New Project Wizard. It asks which IDF version to use (we just installed 6.0.1, easy) and then offers a list of templates - I’m going for the classic Blink.
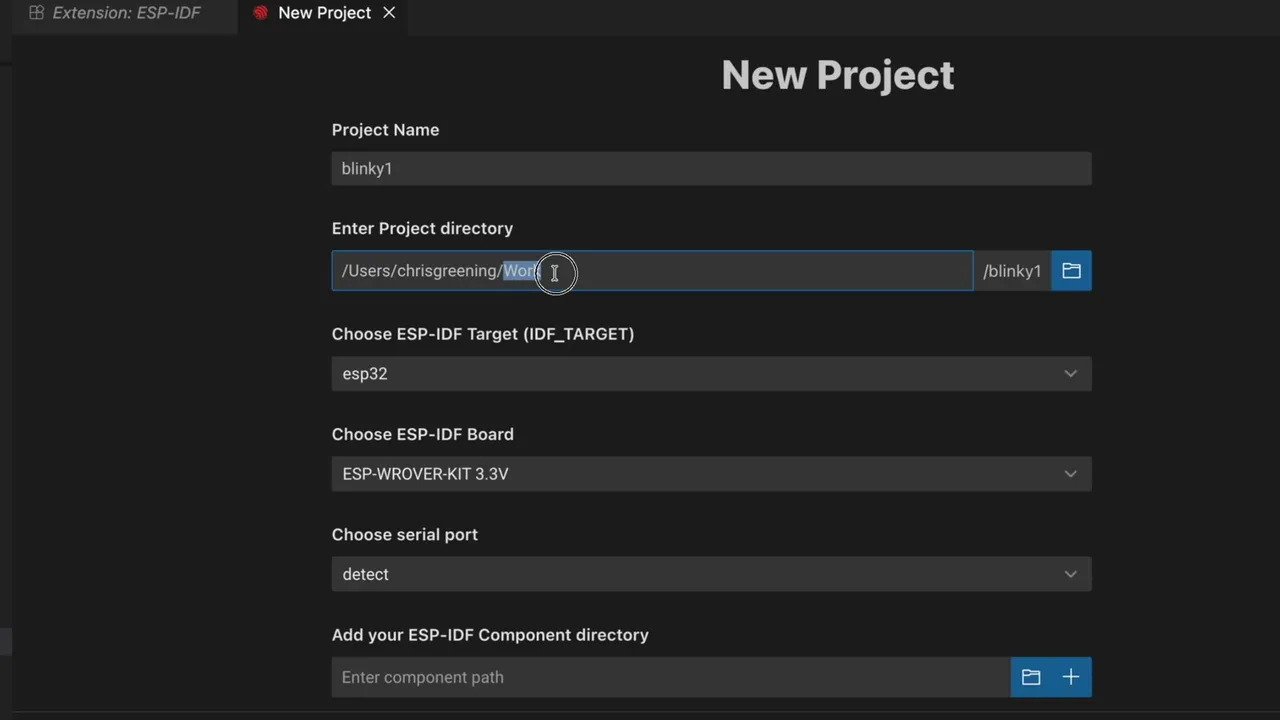
A few things to be careful with on the wizard:
- Path case matters. macOS file systems aren’t case-sensitive by default but the IDF tools are. My
Workfolder is capital-W, so if I typeworkhere I’ll get a mountain of weird errors later. Match the actual case. - IDF target - I’m using an ESP32-S3 so I picked that.
- Serial port - leave it on
detectand it usually works out which port the board is on.
Looking at the code
If you’re coming from the Arduino IDE, the layout is going to look intimidating - lots of folders, CMake files, build directories. It’s not actually that bad once you know where to look. The interesting bit lives in main/blink_example_main.c and the entry point is app_main():
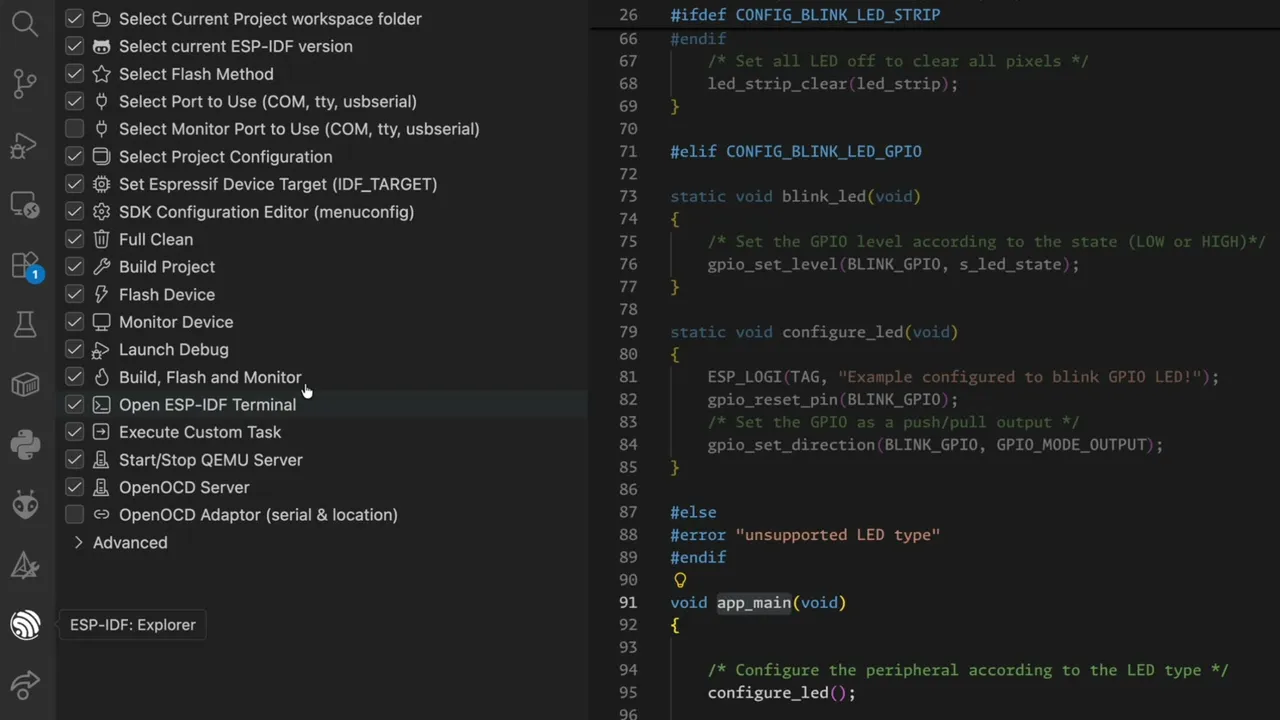
The other thing that’s very different from Arduino is menuconfig. Most of the build is configured through it rather than by editing files. From the ESP-IDF Explorer side panel pick SDK Configuration Editor (menuconfig).
Configuring the LED
The Blink example has its own little Example Configuration section in menuconfig. By default it’s set up for an addressable LED strip - I just have a regular LED on a GPIO pin, so I need to switch the type to GPIO and tell it which pin to use.
A quick peek at the KiCad schematic for my dev board:
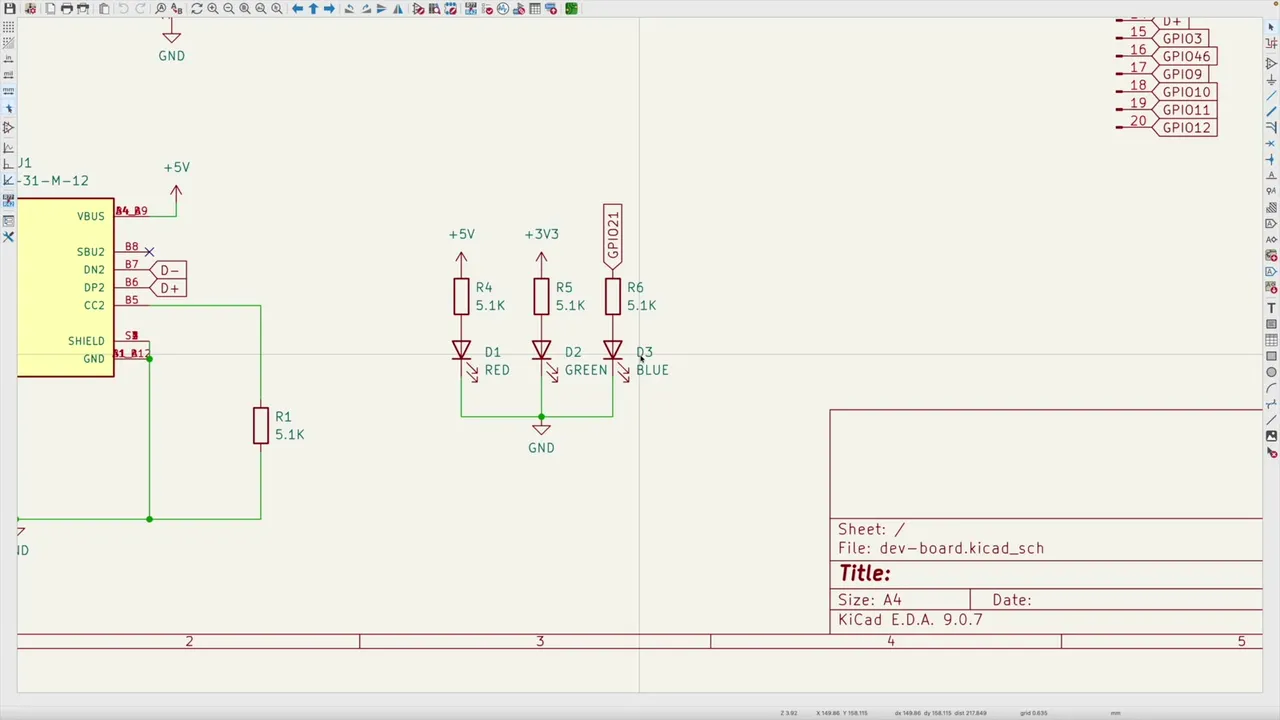
GPIO 21 is driving the LED (it’s actually green on this board because I just grabbed random LEDs out of the bin). So in menuconfig I set:
- Blink LED type: GPIO
- Blink GPIO number: 21
- Blink period in ms: 500
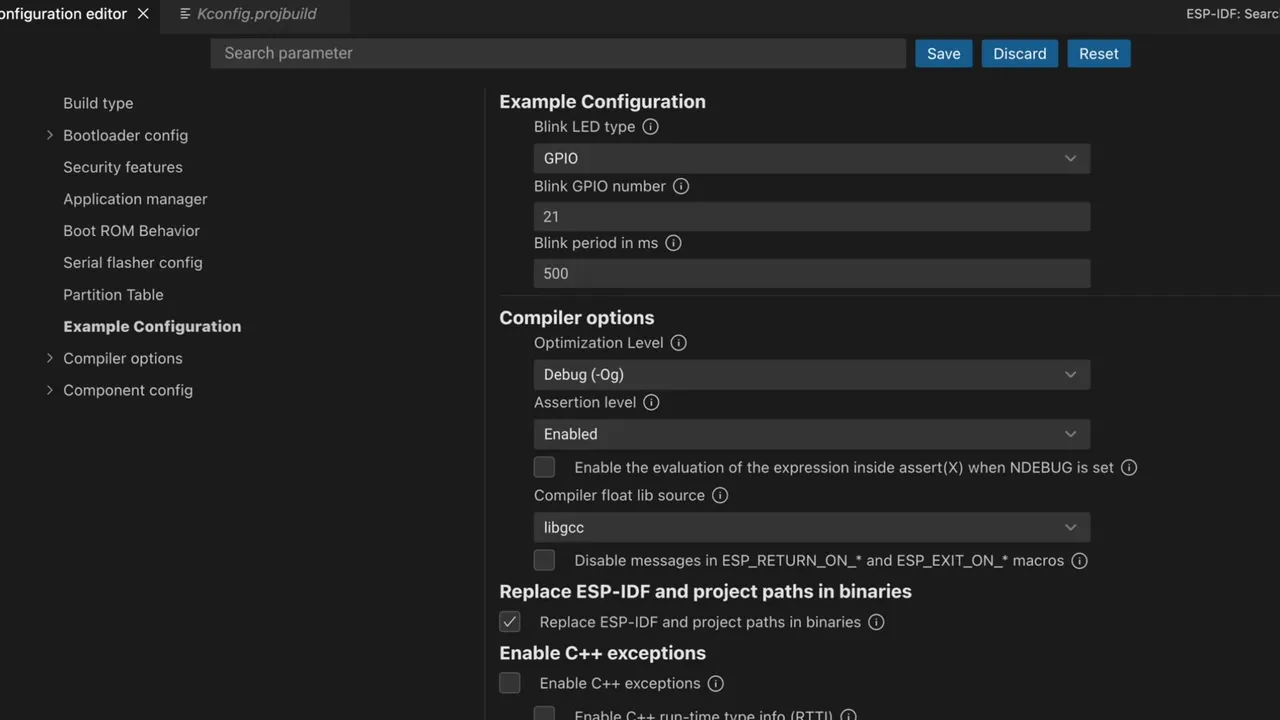
Save and we’re good to go.
Build and flash (the bit that goes wrong)
The ESP-IDF Explorer has buttons for Build Project and Flash Device (and the spanner / lightning icons in the bottom status bar do the same). Build was clean, but flashing failed.
I tried it again with the board held in programming mode (boot + reset) - still no good. The default flash method on the dev board is USB JTAG and it just wasn’t co-operating.
Easy fix: change the flash method.
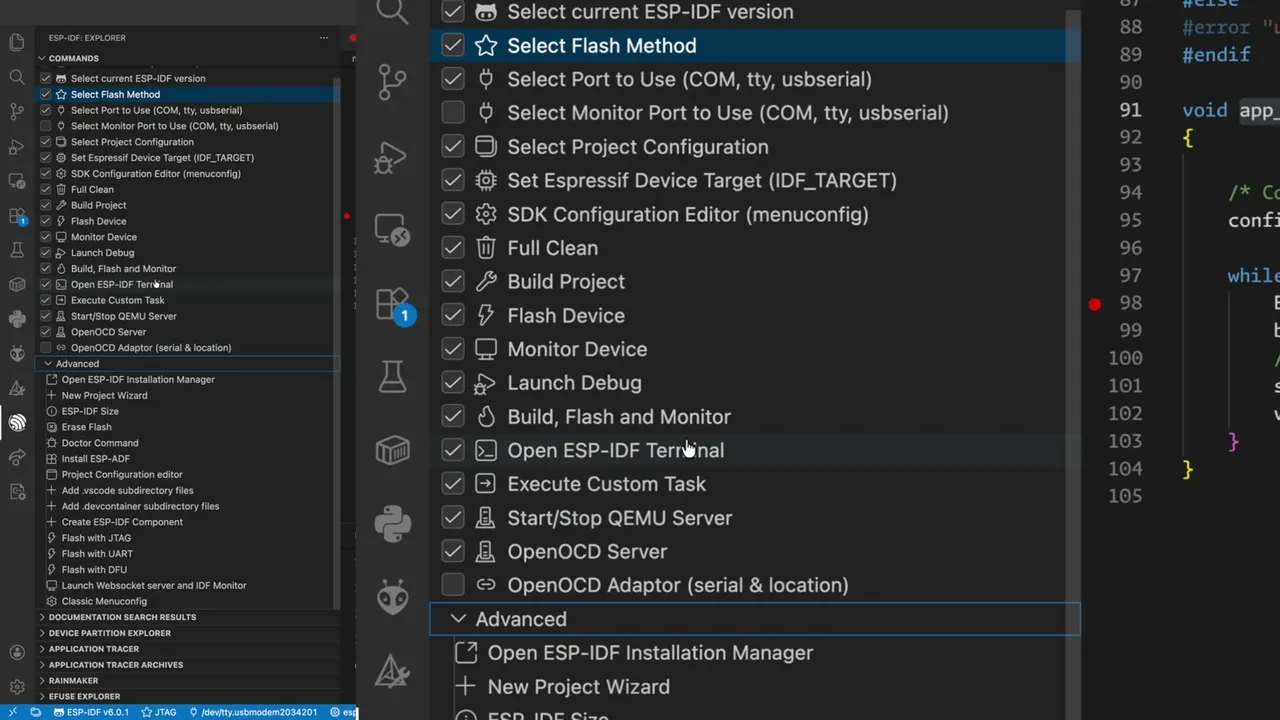
Pick Select Flash Method, switch from JTAG to UART, and try again. Flash succeeds, and the LED starts cheerfully blinking on the bench.
Reading the monitor
With the board running, Monitor Device opens a serial monitor and prints the boot log. Two things jumped out:
cpu_start: Pro cpu start user code
cpu_start: cpu freq: 160000000 Hz
...
spi_flash: Detected size (16384k) larger than the size in the binary image header (2048k).
Using the size in the binary image header.
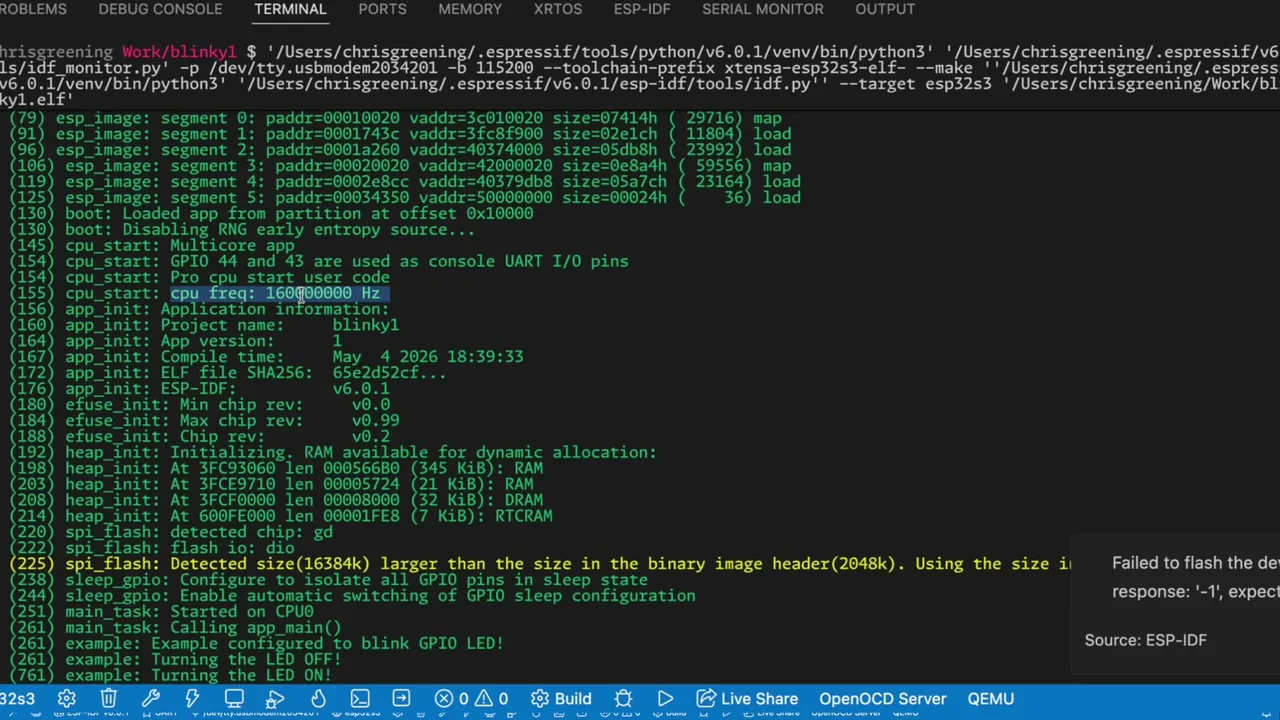
So:
- The CPU is running at 160 MHz but the ESP32-S3 will happily do 240 MHz.
- The chip has 16 MB of flash but the binary image header says 2 MB, so the IDF is using the smaller of the two and politely warning us about it.
Both of these are easy menuconfig fixes.
Squeezing more out of the chip
Back into the SDK config editor:
- Search for CPU and change the CPU frequency to 240 MHz.
- Search for flash and change the flash size to 16 MB.
While we’re in there, this board also has PSRAM, so might as well turn that on:
- Search for PSRAM, enable Support for external SPI-connected RAM, set the mode to octal (mine is octal PSRAM), and bump the speed to 80 MHz for good measure.
Save, build, flash, monitor. Now the boot log looks rather more pleased with itself:
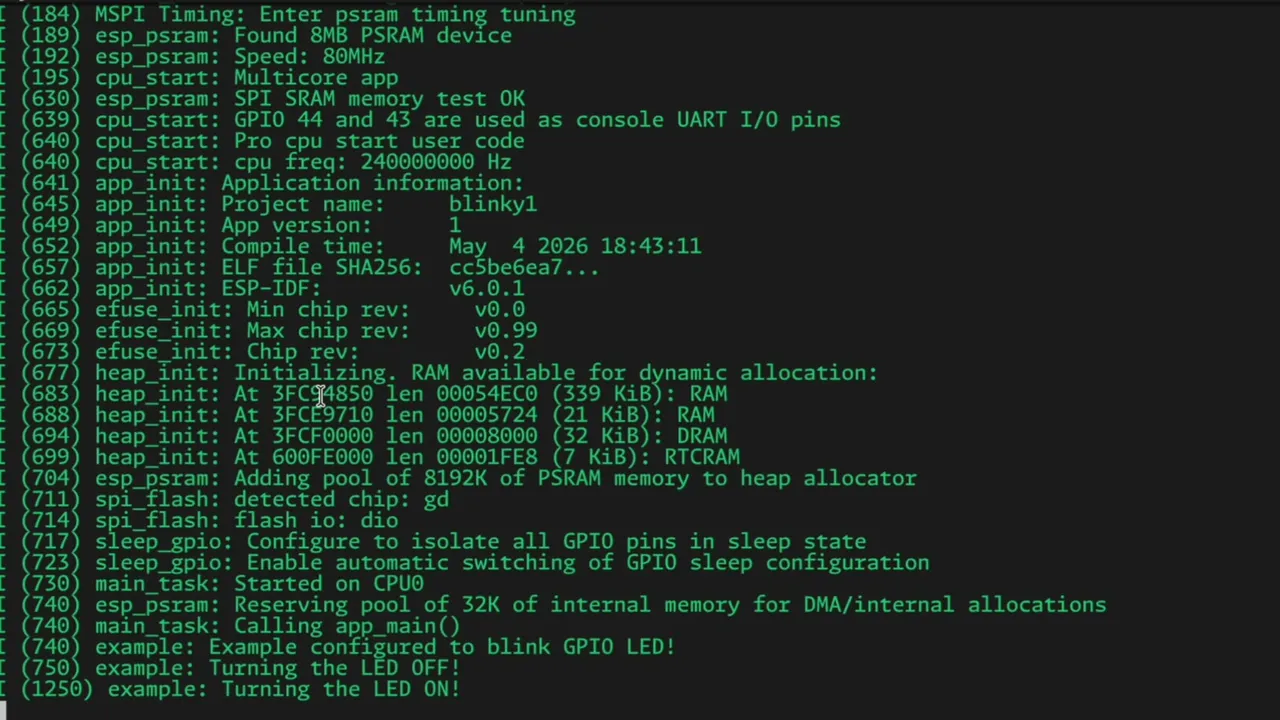
MSPI Timing: Enter psram timing tuning
esp_psram: Found 8MB PSRAM device
esp_psram: Speed: 80MHz
esp_psram: SPI SRAM memory test OK
...
cpu_start: cpu freq: 240000000 Hz
8 MB of PSRAM, the full 16 MB of flash, and 240 MHz of CPU. Lovely.
Bonus round: JTAG debugging
The other thing the ESP-IDF brings to the party that you don’t really get with the Arduino IDE is proper on-chip debugging. The S3 has a built-in USB JTAG, OpenOCD comes with the toolchain, and VS Code already speaks the GDB protocol - so it should “just work”.
Should.
When I tried to start the OpenOCD server it complained that something was already listening - I had a stale OpenOCD from a previous session hanging around. A quick ps and kill in the terminal and the server started cleanly. With the flash method back on JTAG, the board flashed without complaint.
Now the fun bit - drop a breakpoint in blink_led() and hit Launch Debug:
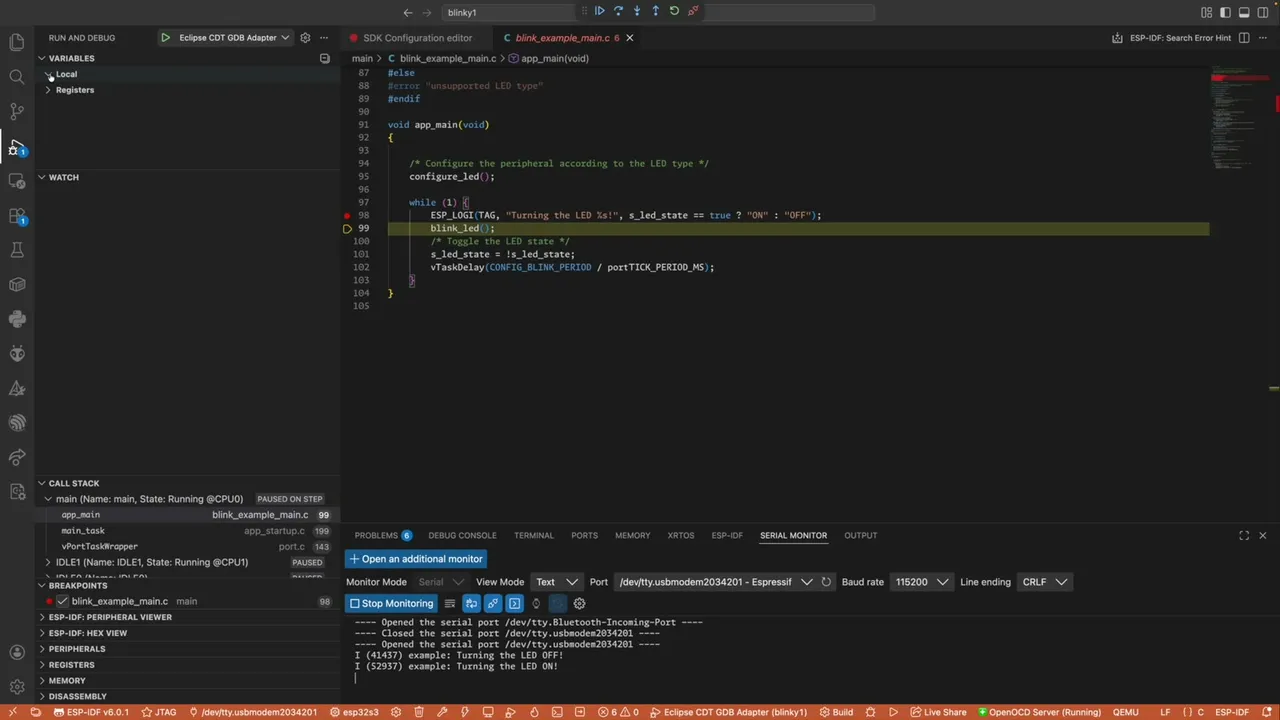
The IDF stops you at the start of app_main first; hit continue and you sail straight into the breakpoint. Step over the line, watch the GPIO state flip, then Turning the LED off and Turning the LED on appear in the serial monitor. Step again, the LED physically turns off on the bench. That’s very satisfying compared to sprinkling Serial.println everywhere.
(Tiny gotcha: the serial monitor latched onto the wrong port the first time - just pick the right one and you’re back in business.)
So… ESP-IDF or Arduino?
The blink code itself isn’t hugely different from the Arduino version - it’s still mostly gpio_set_level(BLINK_GPIO, s_led_state) - but you get the menuconfig system, proper logging, a real debugger, and access to all the bits of the chip that the Arduino layer hides from you.
Honestly, it’s a lot less scary than it looks. If you’ve been putting off trying the IDF, v6 in VS Code is a really nice place to start.
Let me know in the comments - ESP-IDF or Arduino, which do you prefer?