🌈 ESP32-S3 Rainbow: ZX Spectrum Emulator Board! Get it on Crowd Supply →
View All Posts
read
Want to keep up to date with the latest posts and videos? Subscribe to the newsletter
HELP SUPPORT MY WORK: If you're feeling flush then please stop by Patreon Or you can make a one off donation via ko-fi

I’ve got a slightly annoying problem with one of my dev boards. The reset button does absolutely nothing.

These are the boards I got made by PCBWay — they did the PCBs and they came out really nice. I did the assembly myself. But somewhere along the way, something went wrong on one of them.

A Tale of Two Boards

I loaded both boards with a fast blink sketch to make the problem obvious. On the working board, hitting the reset button stops the flashing immediately — exactly what you’d expect. On the broken board? Nothing. The LED just keeps happily blinking away.

This is more than just a minor annoyance. To get an ESP32 into programming mode, you hold down the boot button and then press reset. Without a working reset button, I’m constantly having to unplug and re-plug the USB cable. Not ideal.

Checking the Schematic and PCB

First things first — let’s make sure the design is actually correct.

The schematic looks fine: the reset switch is connected to the EN (enable) pin through the standard RC circuit — a resistor and a capacitor. Nothing unusual there.

The PCB layout checks out too. Tracing the path from the reset switch down to ground, up through the RC network, and all the way to the EN pin — everything is routed correctly.

So the design isn’t the problem. Time to get the multimeter out.

Buzzing Out the Circuit

I started probing the connections on the board. The EN pin to the resistor — good. EN pin to the capacitor — good. The trace from the RC network to the switch — also good.

Then I put the probes across the switch itself and pressed the button.

Nothing. No continuity at all.

The boot button on the same board? Works perfectly. But the reset button is completely dead.

Under the Microscope

Time for a closer look. Under the microscope, the soldering on the ESP32’s EN pin looks fine — which the continuity test already confirmed. The RC components look good too.

The button itself? It looks solidly soldered. Visually, I couldn’t see any obvious problems. Comparing it with the boot button, the boot button’s joints were a bit shinier, but nothing that would explain a total failure.

It’s funny how boards look under the microscope — from a distance, this board looks perfectly clean, but zoom in and there’s all sorts of hairs and disgusting stuff.
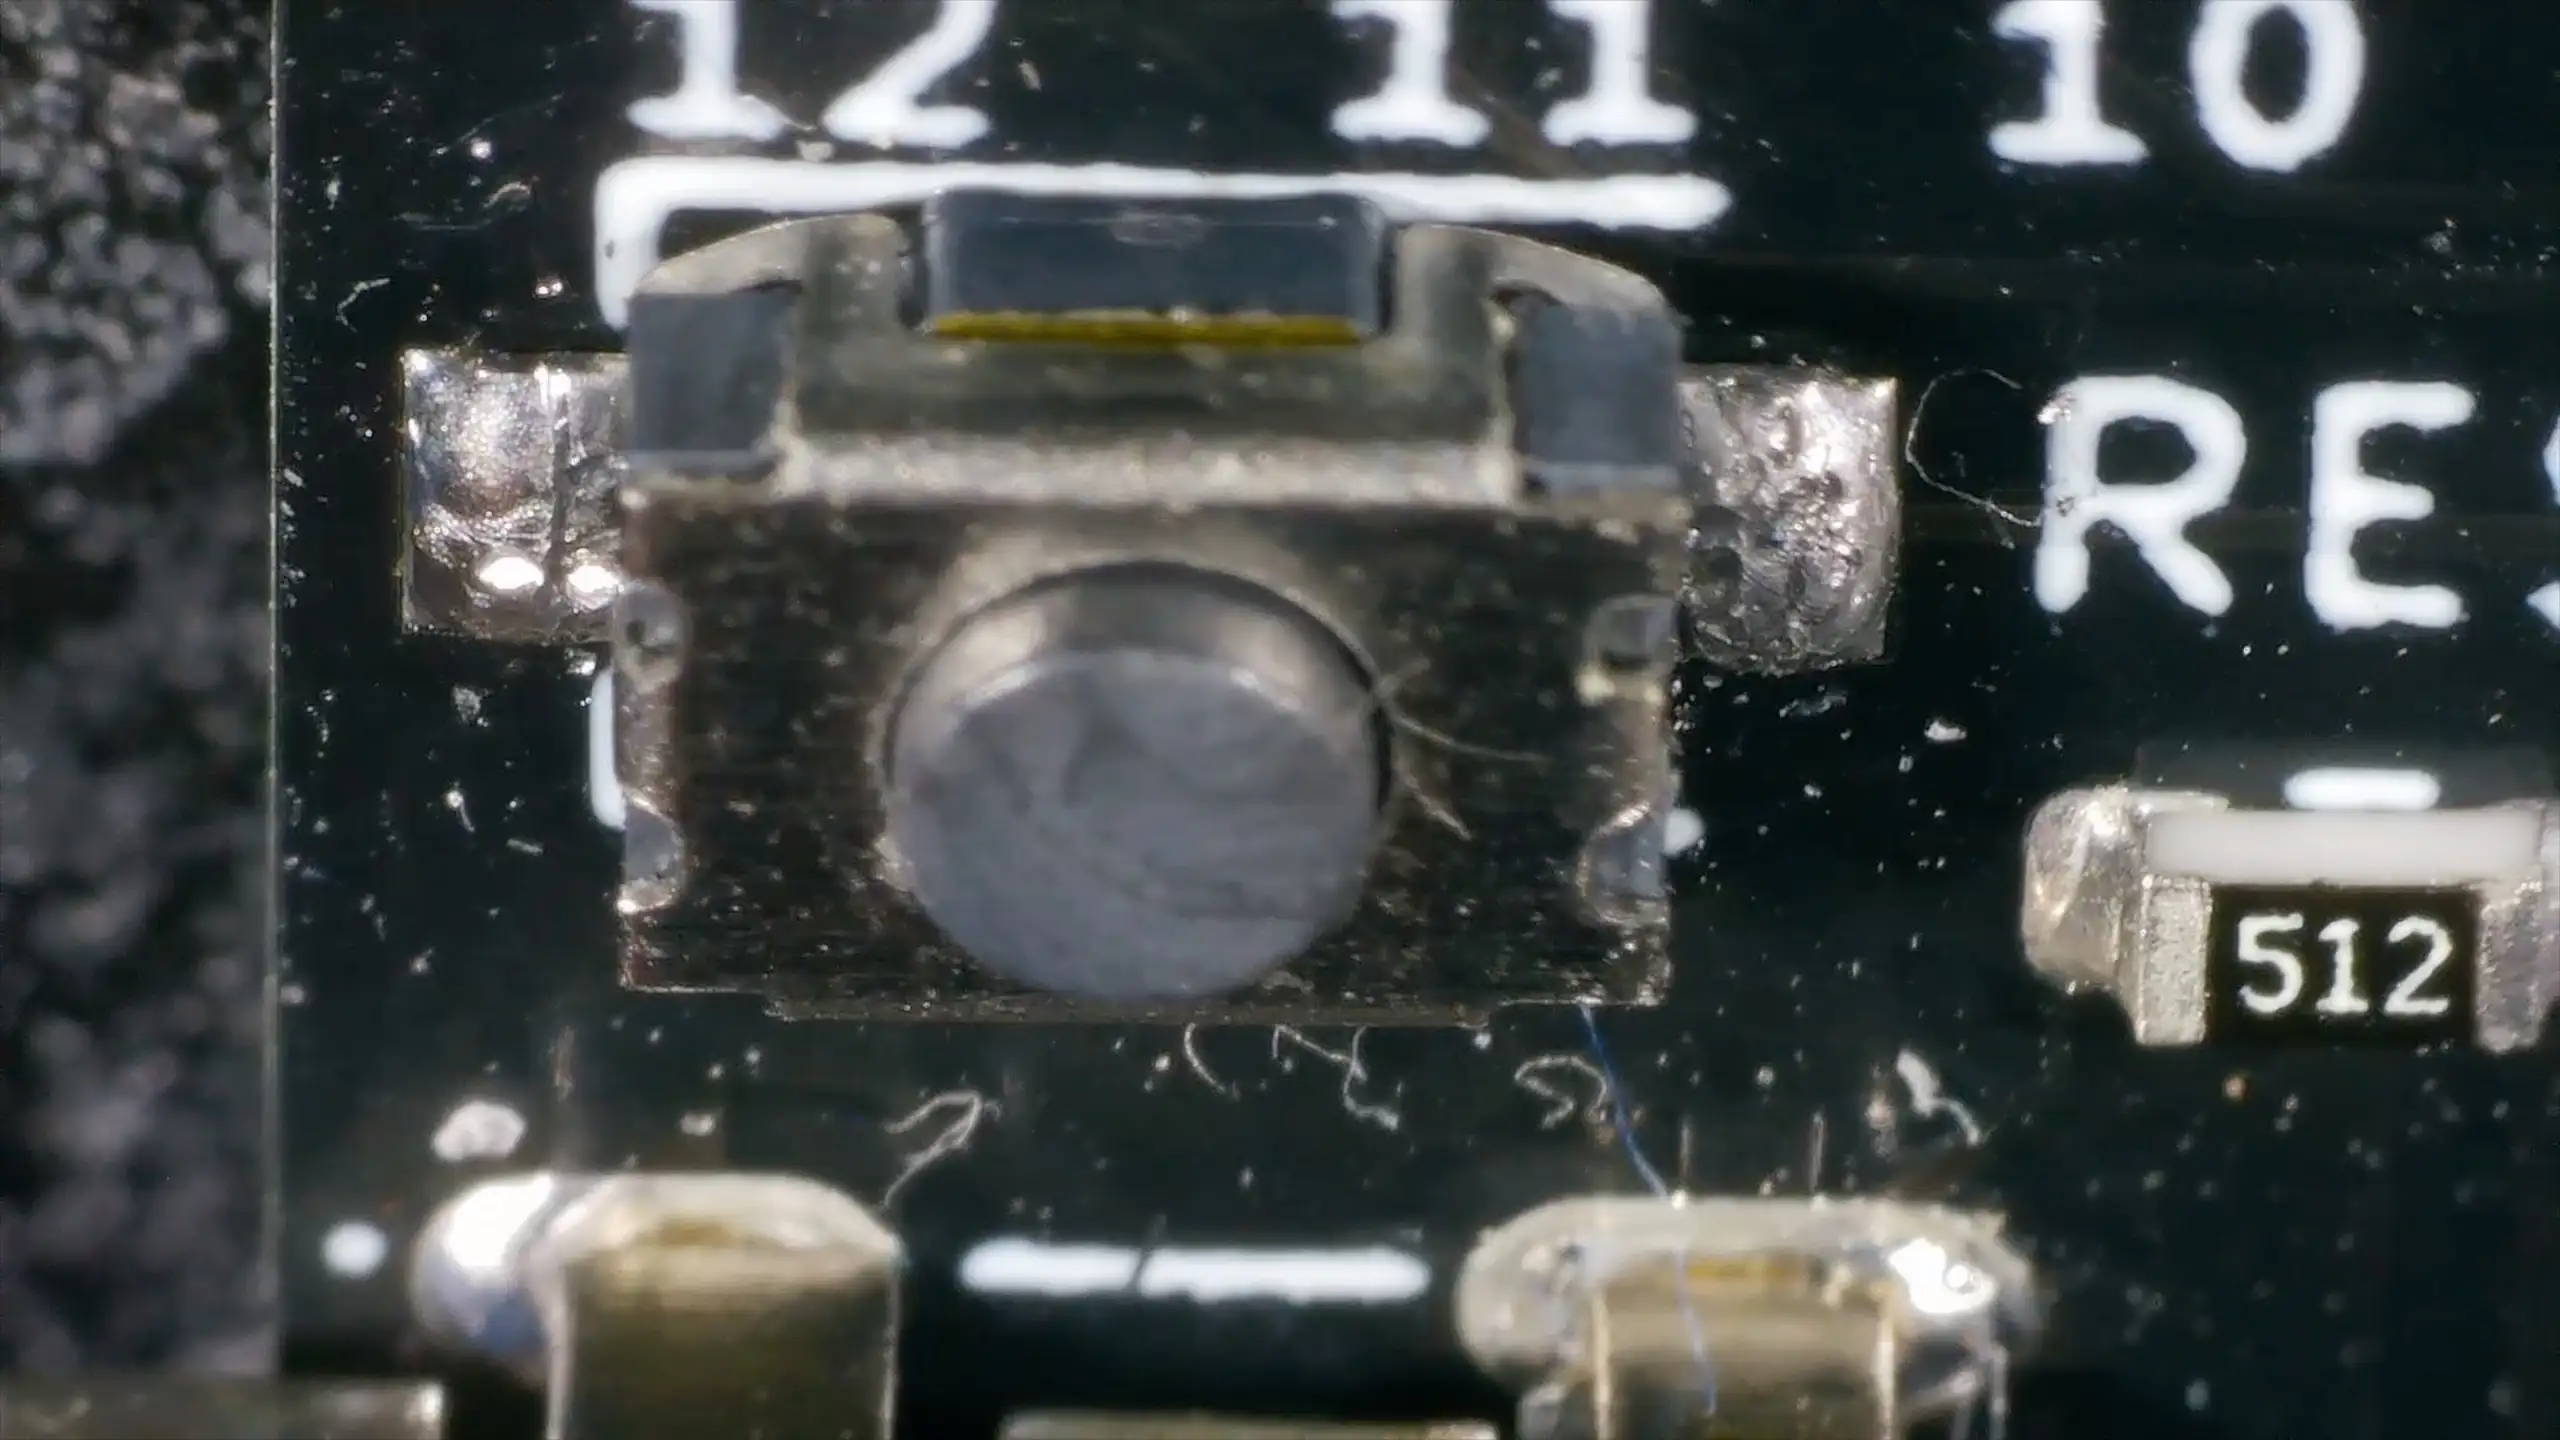
Yuck

Reflow and Test

With no obvious visual fault, I decided to reflow the solder joints on the reset button. Applied some flux, heated up each joint, and could feel solid connections on both sides of the switch.

Buzzed it out again. Still nothing. The button clicks mechanically, but there’s no electrical continuity when pressed.

At this point, it’s clear: the button itself is the problem.

The Fix: Just Add Alcohol

Looking more closely, the inside of the button seemed to be full of flux residue. On a whim, I soaked the board in IPA (isopropyl alcohol) to try and clean it out.

After a good soak, I probed the button again — and it worked perfectly. Every press gave clean, reliable continuity.

Plugging the board back in, the blink sketch was running. Hit the reset button and… the flashing stopped. Success!

Lesson Learned

The whole problem was flux residue inside the tactile switch, preventing the internal contacts from making a clean connection. The solder joints were fine, the traces were fine, the schematic was fine — it was just a dirty button.

A remarkably simple fix in the end. A bit of cleaning was all it needed.

The lesson? Use more alcohol — that’s the conclusion I’m taking from this…

Related Posts

The PCBs are in production - what have I messed up? - After some stress and trepidation, I finally took the plunge and sent my PCB design off for manufacturing. My design centers around building a large seven-segment clock with LED filaments. Jumping hurdles such as voltages, pin usage, and limiting the load on my power supply, I've settled on the ESP32 as the system's heart and come up with a final circuit design. While doing this, I've quickly realized I could improve my layout and fixed a small mistake. Also, I've prepared for either types of LED filaments - the high-voltage ones or the larger, 3v ones. However, I did bungle up a couple of things on the enable line of the shift registers and board layout. But hey, this is a learning curve, right? Can't wait to get the boards and see what other exciting errors surface!
ESP32-S3 Dev Board Assembly - I finally assembled our ESP32-S3 dev boards—used a stencil for easy SMD work, fixed a few tiny USB solder bridges with flux, and even hand-built one for fun. The EPAD isn’t required (per the datasheet), power LEDs look good, and on macOS you can spot it under /dev before flashing. A quick boot-button dance and the blink sketch runs great—full build and walkthrough in the video.
ESP32 Rainbow QA - A tale of three boards - We’ve shipped a few hundred ESP32 Rainbow boards-most are perfect - but a few failed QA. Here’s how we tracked down and fixed three real-world faults: no sound from lifted headphone jack pads, USB not enumerating due to a mis-seated ESD IC pin, and a flaky touch keyboard from poor ESP32 module joints. A bit of microscope work and reflow brought two boards back to life (one’s now a donor), and it’s a great reminder why we do final assembly and full QA here in Scotland.
A Potentially Explosive Error - Just received the new PCBs for the ESP32-TV project and they're looking sharp with only a tiny resistor tweak needed. But I discovered a sneaky, undocumented resistor causing a conflict between the ESP32 and USB2244 over the USB connection. Fixed that, but there's a bigger issue lurking in the design - check the schematic in the video and see if you can spot it before I reveal the explosive mistake!
More fun and games with high voltage - Hey everyone! I know it's been a while since the last video, but things have been crazy busy with shipping off the ESP32 Rainbows. Lately, I've been diving into the world of high voltage again. My last endeavor with a high voltage board led to some gnarly waveforms and flickering LEDs, so I tested with beefy resistors but wasn't thrilled with the results. Fortunately, I've found some nixie tube driver boards that work wonders with LEDs, providing smooth output with little ripple. Still, playing with the old boards has its thrill—hello, 787 volts and some wild sparks! Stay tuned for more high voltage adventures!

Related Videos

Why This ESP32 Reset Button Didn’t Work - Had a slightly annoying issue: one ESP32 dev board’s reset button did nothing while the LED kept happily blinking. Schematic and PCB layout were fine, EN net buzzed out, but there was no continuity across the reset switch. Reflowing didn’t help; under the microscope the joints looked good. The culprit? The tactile switch was gunked up with flux. A soak in IPA brought it back to life—continuity restored, reset works, programming mode good. Moral of the story: sometimes it’s not the design—just clean it. Use more alcohol.
I Built My Own ESP32-S3 Board… And It Actually Works! - I finally assembled my super simple ESP32‑S3 dev board—voltage regulator, reset button, three status LEDs (5V, 3.3V, and a GPIO blinker), and all pins broken out. I showed two build methods: stencil + hot-plate reflow (quick, with a few USB bridges to clean up) and full hand-solder under the microscope, complete with the rigorous ‘solid’ test. Soldered the ESP32‑S3 module (skipping the center thermal pad unless you need it), plugged in, got power LEDs, confirmed USB enumeration, flashed a blink sketch, and we’ve got a blinking LED. Next up: turning this basic dev board into something more professional for production.
Three ESP32 Rainbow Boards Failed QA — Can we fix them? - I’m assembling another batch of ESP32 Rainbows: PCB house does the boards, UV silkscreen and some parts, and I finish assembly and QA here in Scotland. I run through three QA fails—no sound, dodgy keyboard, and no USB—then fix two: the audio fault was lifted pads on the headphone jack, so I bodged it back with flux and solder (speaker and headphones now work, but it’s a spares board). The no‑USB issue was an ESD protection IC sitting off its pad; I reflowed it on a mini hot plate, cleaned up with IPA, verified continuity, and it now enumerates and flashes perfectly. On to the keyboard next—oh, and Happy New Year!
I Spent Hours Debugging My Software… - Quick bench update: I tried to get a 32×24 pixel IR module talking over I2C and it just would not play ball—pull-ups, library swaps, address scans, nothing. First silly mistake was not bridging the I2C jumper. Even after fixing that, still dead. Under the microscope I spotted the real issue: poorly soldered pins on the IC. A quick reflow and some IPA cleanup later, it sprang to life. Moral of the story: if yours won’t talk, check the underside soldering. Project video coming soon.
A Lot of Hot Air - Soldering ESP32-S3 Boards - In this video, I test out the new hot air rework station I just got to solder my Mini esp32 S3 boards. I dissect the hot air gun, encountering an Australian plug and a couple of interesting quirks inside the control PCB. I attempt to understand the circuit, welcome your thoughts on the build quality, and then solder on a new, hopefully safer, UK-compliant plug. Post-assembly, I apply way too much solder paste thanks to these tricky solder syringes, before setting the station to 300 degrees C for some hands-on rework. After some trials, I successfully fix some solder bridges with my soldering iron and behold, everything is connected and it works! It's just another blink sketch, but hey, it's confirmed – The new hot air station works!
HELP SUPPORT MY WORK: If you're feeling flush then please stop by Patreon Or you can make a one off donation via ko-fi
Want to keep up to date with the latest posts and videos? Subscribe to the newsletter
Blog Logo

Chris Greening


Published

> Image

atomic14

A collection of slightly mad projects, instructive/educational videos, and generally interesting stuff. Building projects around the Arduino and ESP32 platforms - we'll be exploring AI, Computer Vision, Audio, 3D Printing - it may get a bit eclectic...

View All Posts