🌈 ESP32-S3 Rainbow: ZX Spectrum Emulator Board! Get it on Crowd Supply →
View All Posts
read
Want to keep up to date with the latest posts and videos? Subscribe to the newsletter
HELP SUPPORT MY WORK: If you're feeling flush then please stop by Patreon Or you can make a one off donation via ko-fi

Every time I start a new project the first question is the same: which module should I use? Picking an Espressif chip means pulling up datasheets, hunting for pinout diagrams, checking which pins are safe, and ending up with a dozen browser tabs open.

So I built something to fix that.
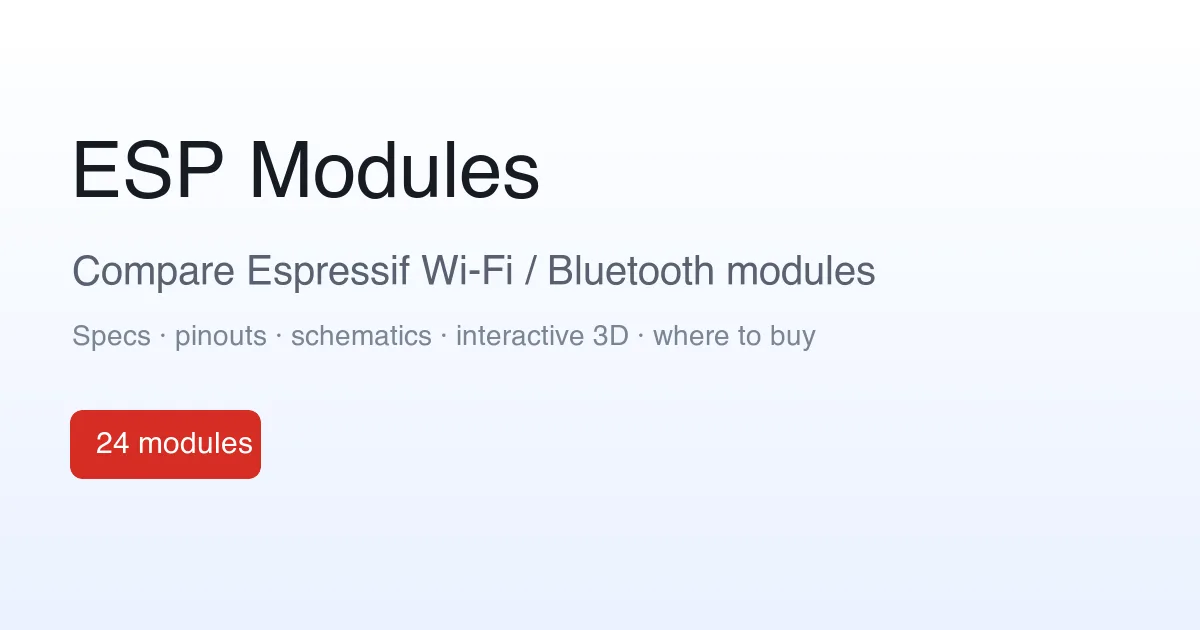
esp32.atomic14.com is a free, community-maintained database of Espressif modules. Every module in one place, with the specs, pinouts and 3D models you actually need to make a decision.

ESP Modules

What’s in there

Right now it covers 24 modules across 11 SoCs, from the classic ESP32 through to the ESP32-S3, ESP32-C3 and ESP32-H2. For each one you get:

  • Searchable specs pulled straight from the official datasheets: cores, clock speed, RAM, flash and PSRAM options, Wi-Fi and Bluetooth support.
  • Colour-coded pinouts with the strapping pins and ā€œdon’t use theseā€ warnings called out, so you don’t get caught by a pin that fights you at boot.
  • Interactive 3D models so you can see the actual footprint and dimensions before you commit to a board layout.
  • Side-by-side comparison to put two or three modules next to each other and see exactly what changes.
  • Getting-started pointers for Arduino, ESP-IDF and MicroPython, plus links back to the source datasheets and reference designs.

Goodbye to the old ESP32-S3 pinout

This replaces my old ESP32-S3 pinout post. That started life as a single GitHub image, which was useful but hard to keep current and only covered one module. The new ESP32-S3-WROOM-1 page does everything that did and a lot more, and the same treatment is there for the rest of the family.

It’s a living document

Datasheets get revised, mistakes creep in, and there are always edge cases worth flagging. Every page has a built-in way to report errors, and corrections are very welcome. The more eyes on it, the more accurate it stays.

Go and have a poke around: esp32.atomic14.com. I’d love to hear what’s missing.

Related Posts

ESP32-S3: Which Pins Should I Use? - As an enthusiast of the ESP32-S3's versatility, I recognized the importance of understanding which pins are best to avoid. Inspired by the Random Nerds page for the classic ESP32, I've created a comprehensive pinout for the ESP32-S3 available on GitHub. The community's input is highly valued – suggestions and corrections are welcome to refine this resource into a dynamic guide for developers.
Easy esp32 s3 dev board - Quick recap: I’m putting together a super simple ESP32-S3 dev board—there’s a video walkthrough, the full KiCad project on GitHub, plus the schematic and a slick 3D render of the assembled board.
Minimalist Microcontroller: Building a Bare-Bones Dev Board - In a thrilling DIY endeavour, I attempted to build the most minimalist ESP32 dev board possible. Diving deep into the schematic of the ESP32 S3 WROOM module, I chopped out the non-essentials and whittled our needs down to bare bones. The experiment saw me juggling USB data lines and voltage regulators, waving goodbye to an array of capacitors and connectors and boldly embracing the simplicity of direct connections. Despite a few hitches, the miniature Frankenboard came alive, proving that sometimes less is more...at least in the world of microcontrollers.
ESP32-C3 0.42 OLED - Picked up a stack of ESP32-C3 + 0.42" SSD1306 modules and followed an existing guide, but I wasn’t keen on the 128x64-with-offset bodge. I dug into U8g2 and created a proper 72x40 SSD1306 constructor so drawing uses native coordinates. Cleaner code, same tiny display, job done.
1 touch pin 8 touch pads - To make my ESP32 ZX Spectrum touch keyboard work even better, I needed to ensure every key was independent. The ESP32-S3 only has 14 touch pins, so I’ve been using a matrix approach. While this works well, it struggles with key combinations, critical for the ZX Spectrum. I explored touch detection and experimented with analog multiplexer ICs (4051 series) to expand the touch pins. Initial tests were promising. After prototyping with breadboard-friendly versions and ordering parts, the new keyboard was not only functional but exceeded my expectations. Scanning the keyboard now takes around 20ms, and the solution is ready for production. This was the last big challenge, and I’m thrilled with the results!

Related Videos

ESP32-S3 - Which Pins Are Safe To Use? - In this video, I've decided to dive deep into the ESP32-S3, a module ruling my lab recently due to its plug-in-and-play functionality, and the flexibility offered by its GPIO matrix. However, working with it requires vigilance, especially with regard to the strapping pins and USB data pins, among others. Discovering such quirks, I've encountered unexpected values, short glitches and the occasional code crash. To help you avoid these bumps, I've documented everything I've learned on my GitHub repo, where I'm inviting you, my fellow makers and engineers, to contribute your valuable experiences and findings. After a minor hiccup with my ESP32-TV, expect an updated PCB design, courtesy of PCBWay. Explore the ESP32-S3 with me, and let's unravel its secrets together, one pull request at a time.
Super Easy ESP32-S3 Dev Board - Making an ESP32-S3 dev board is way easier than it looks. I simplify the datasheet reference: skip the external crystal, wire native USB D+/Dāˆ’ (pins 19/20) straight to a USB-C with 5.1k CC pulldowns, add a BOOT switch and an EN RC reset, and power it with an LD117 LDO that’s happy with ceramic caps. In KiCad I build the schematic with Espressif libraries, add LEDs for 5V, 3V3, and a blink GPIO, set up net classes, route a clean USB differential pair, stitch a solid ground plane, and label everything. It’s a bit wide—just gang breadboards together—and you end up with a neat, professional S3 dev board you can flash and debug over USB.
I Built My Own ESP32-S3 Board… And It Actually Works! - I finally assembled my super simple ESP32‑S3 dev board—voltage regulator, reset button, three status LEDs (5V, 3.3V, and a GPIO blinker), and all pins broken out. I showed two build methods: stencil + hot-plate reflow (quick, with a few USB bridges to clean up) and full hand-solder under the microscope, complete with the rigorous ā€˜solid’ test. Soldered the ESP32‑S3 module (skipping the center thermal pad unless you need it), plugged in, got power LEDs, confirmed USB enumeration, flashed a blink sketch, and we’ve got a blinking LED. Next up: turning this basic dev board into something more professional for production.
HELP SUPPORT MY WORK: If you're feeling flush then please stop by Patreon Or you can make a one off donation via ko-fi
Want to keep up to date with the latest posts and videos? Subscribe to the newsletter
Blog Logo

Chris Greening


Published

> Image

atomic14

A collection of slightly mad projects, instructive/educational videos, and generally interesting stuff. Building projects around the Arduino and ESP32 platforms - we'll be exploring AI, Computer Vision, Audio, 3D Printing - it may get a bit eclectic...

View All Posts